Uploading assets
Assets can be uploaded into Amplience using various methods. Generally, bulk upload is used to upload assets in volume, while the Dynamic Content and Content Hub apps provide a convenient way for you to upload assets as you need them. For example, a content producer may want to upload a few files to complete a piece of content.
| Upload method | Description |
|---|---|
| Bulk upload | Automated upload for large volumes of assets, use the Bulk upload (FTP) tool or the GraphQL Asset Management API. |
| Dynamic Content Assets tab | Upload up to 30 assets at a time through the Dynamic Content Assets tab. |
| Content Hub app | Upload up to 200 assets at a time using the Content Hub app. |
You can also use the GraphQL Asset Management API to upload assets and transcode video.
Uploaded files must have supported file types to be publishable, and therefore usable within the Amplience platform. See supported file types.
Make sure that all your images have descriptions by generating alt text automatically when you upload assets. See Automatic alt text generation.
Bulk uploadLink copied!
Automated bulk upload is how most assets are ingested into Amplience. We use the term "ingested" because the bulk upload process involves more than simply uploading files. During bulk upload automated scripts can be applied to format the uploaded files and video transcoding profiles applied to videos.
The bulk upload method is to upload files to an SFTP location using any standard SFTP client, connect this to Amplience via upload connectors and set up a bulk upload. The bulk upload is usually set to run every hour and will ingest those assets straight into Amplience.
For information about processing jobs and bulk upload, see Content Hub tools.
Uploading assets with Content HubLink copied!
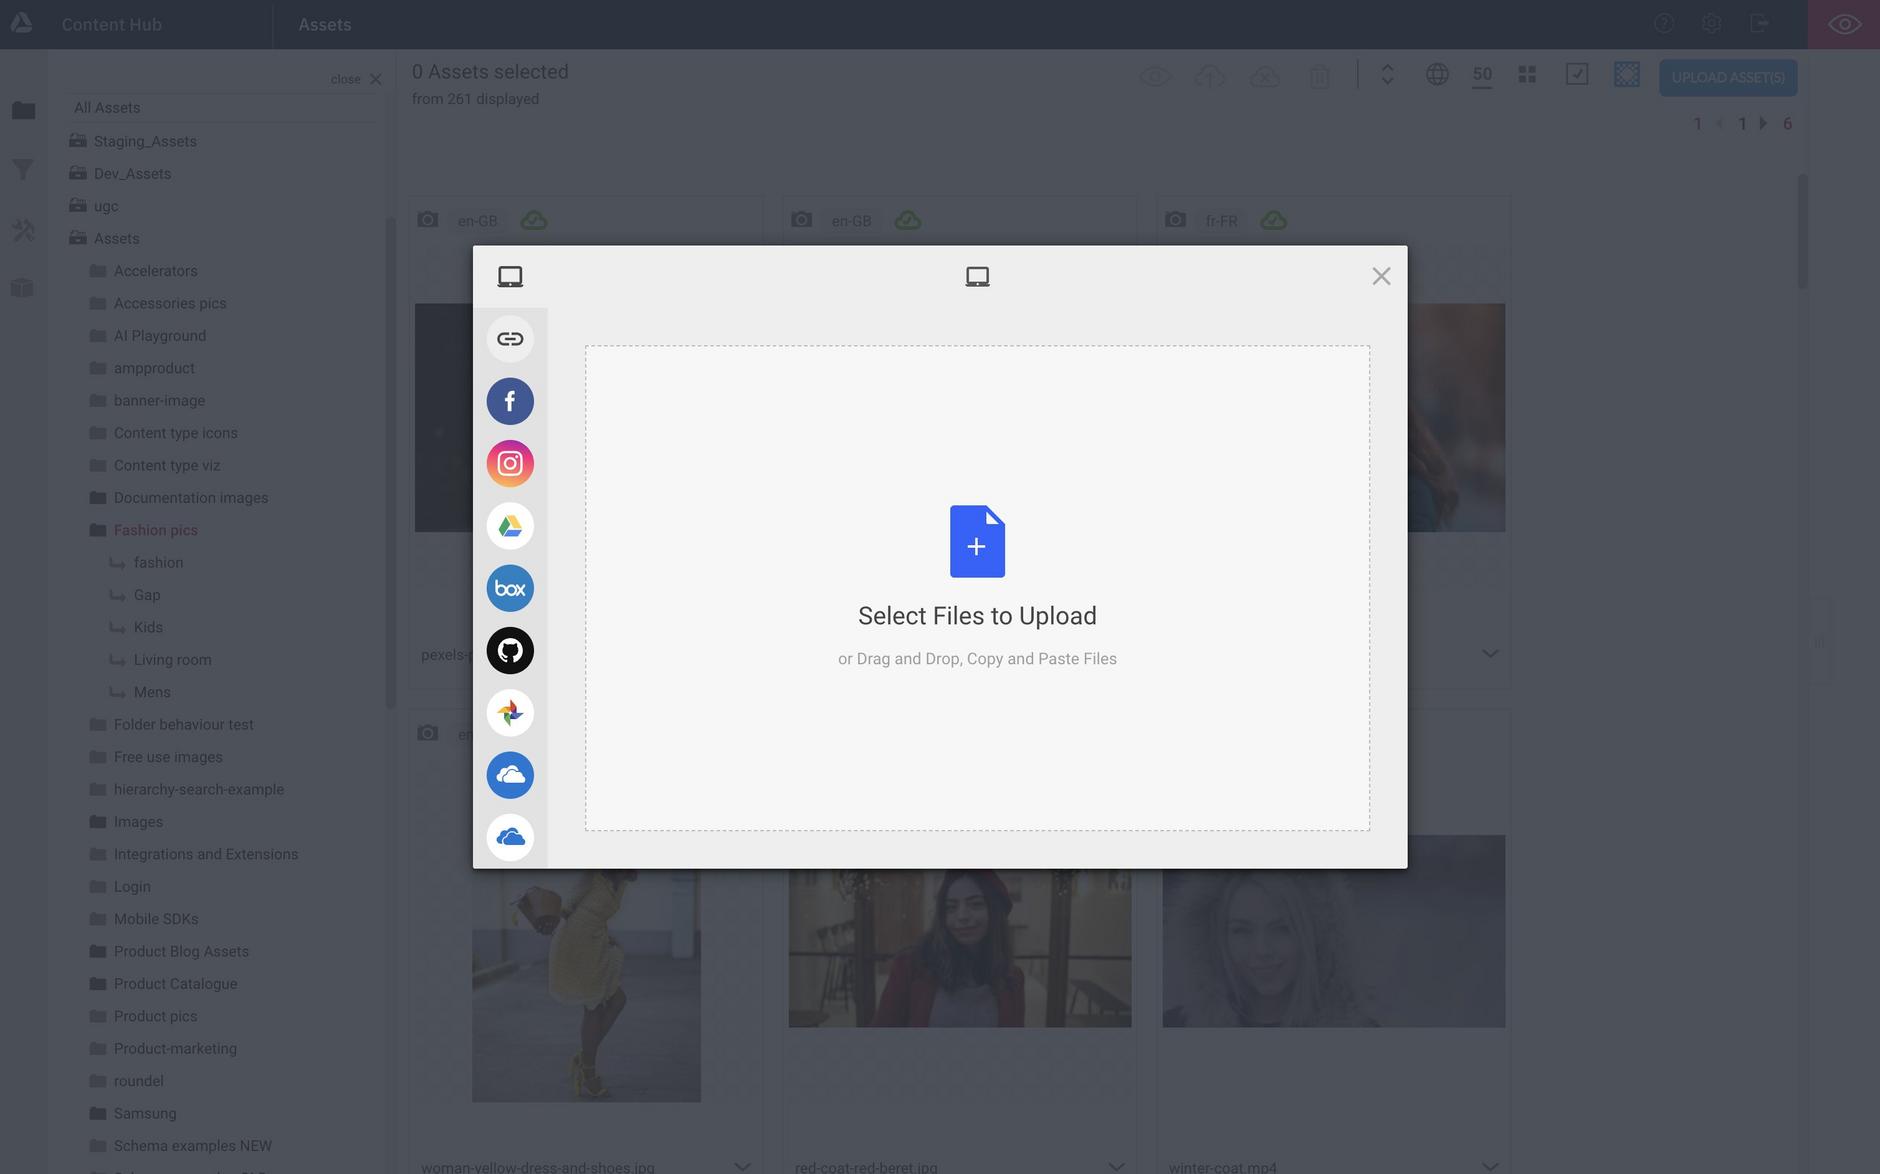
To ingest assets manually using the Content Hub UI, you click the Upload button and drag files into the upload area in the dialog or choose a file from your file system. You can also upload files directly via a URL or via one of the file upload services, including Google Drive, DropBox and Box.
The Content Hub Upload dialog is shown in the image below.
Uploading assets with Dynamic ContentLink copied!
The Dynamic Content Assets tab streamlines your content production workflow by allowing you to quickly perform some key asset management tasks without the need to switch to Content hub. A key advantage of using this upload method is that you can publish on upload.
If the Assets tab isn't displayed in your environment, see managing the assets tab for details of how to request access.
The Assets tab allows you to manually upload up to 30 assets at a time to the Asset Library.
To manually upload assets using the Assets tab, navigate to the folder to which you want to upload, then do one of the following:
- Drag and drop files from your file system into the folder asset area, as shown below.
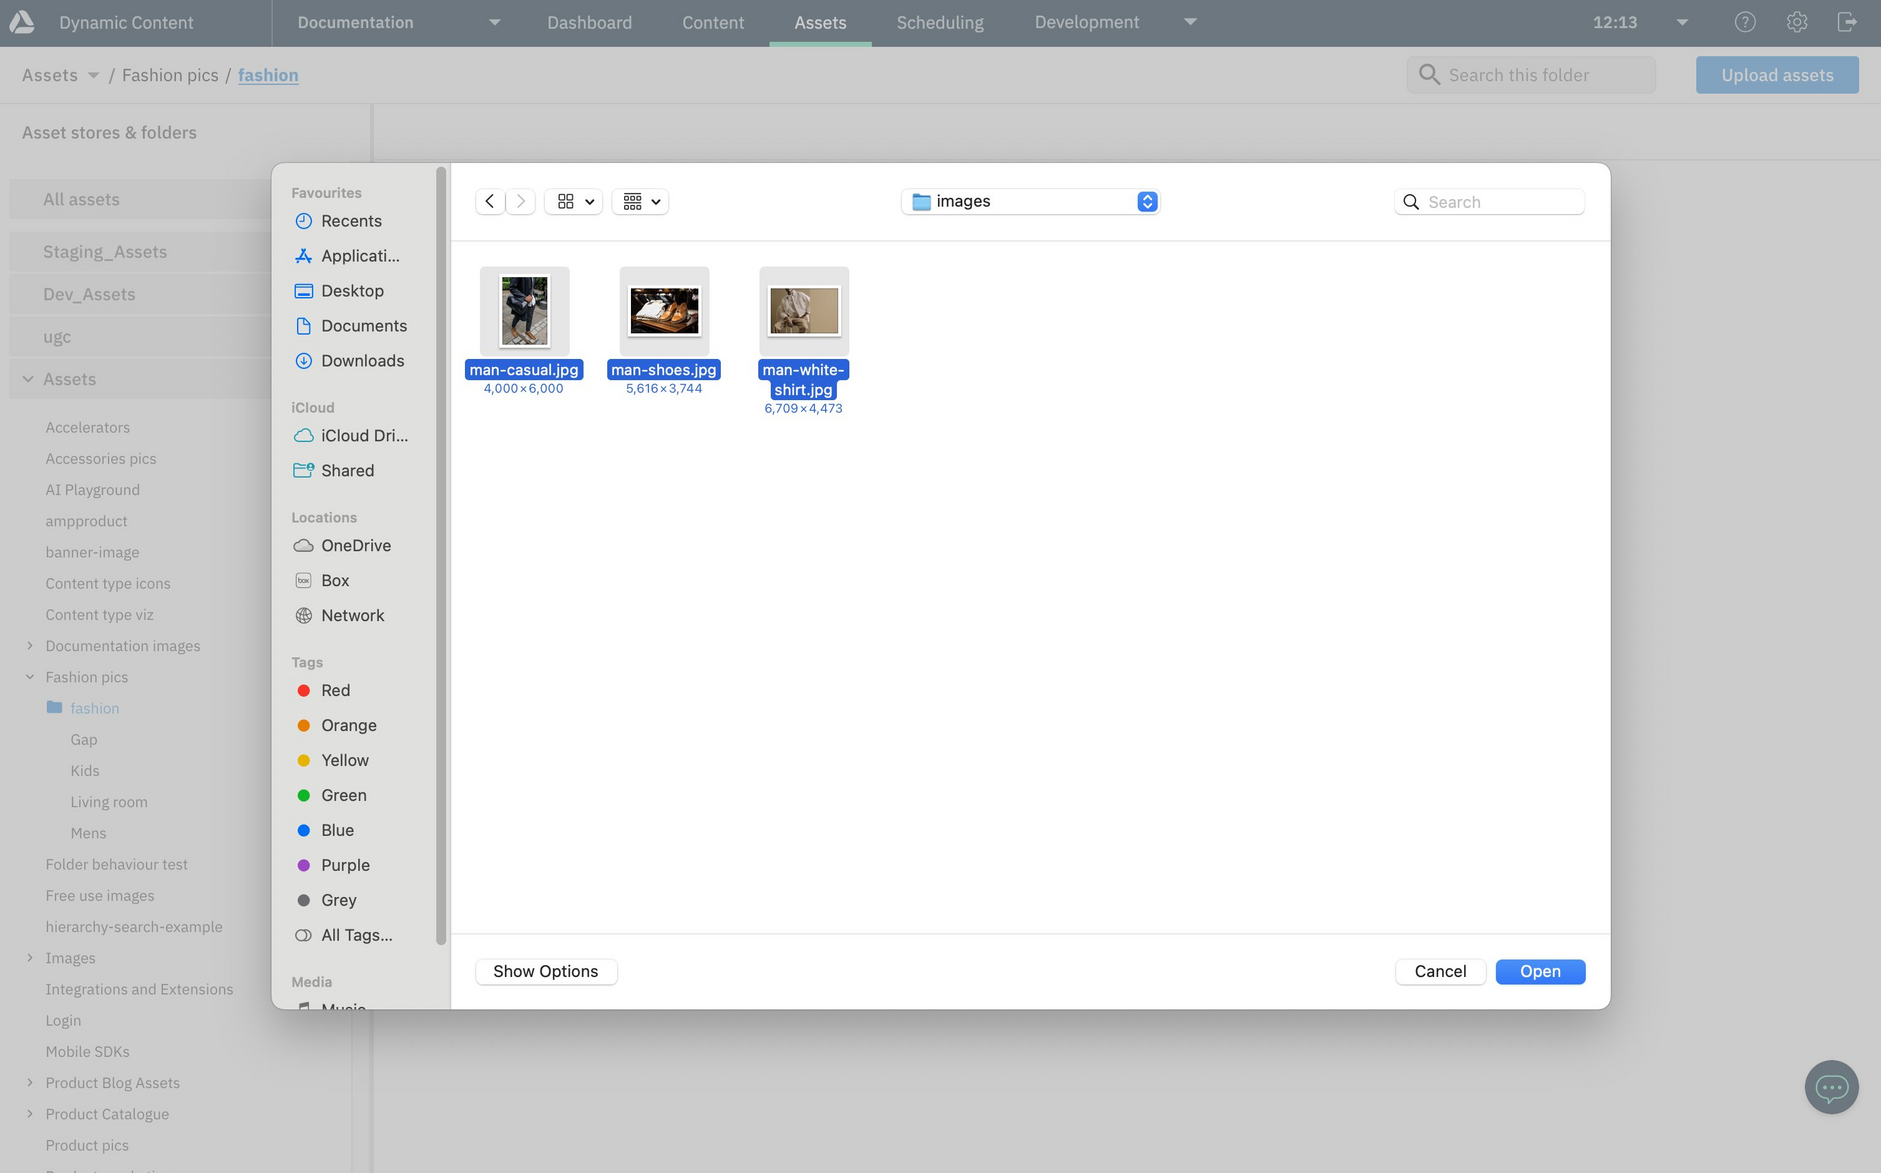
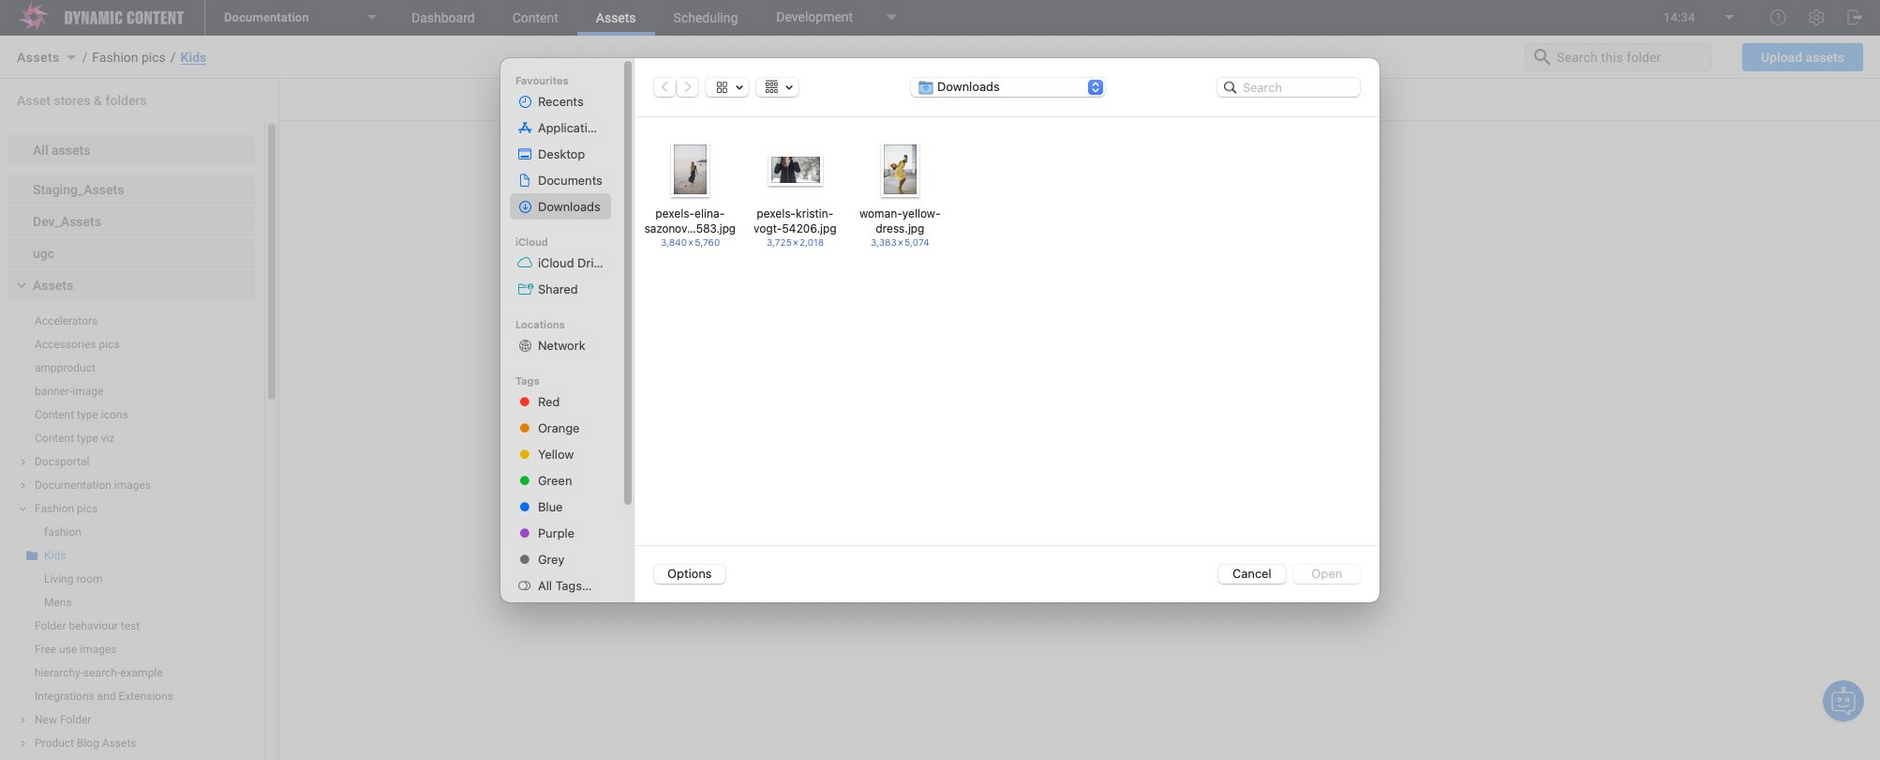
- Click the Upload Assets button. Your system's default file chooser dialog is opened, from which you can choose the files you want to upload, as shown below.
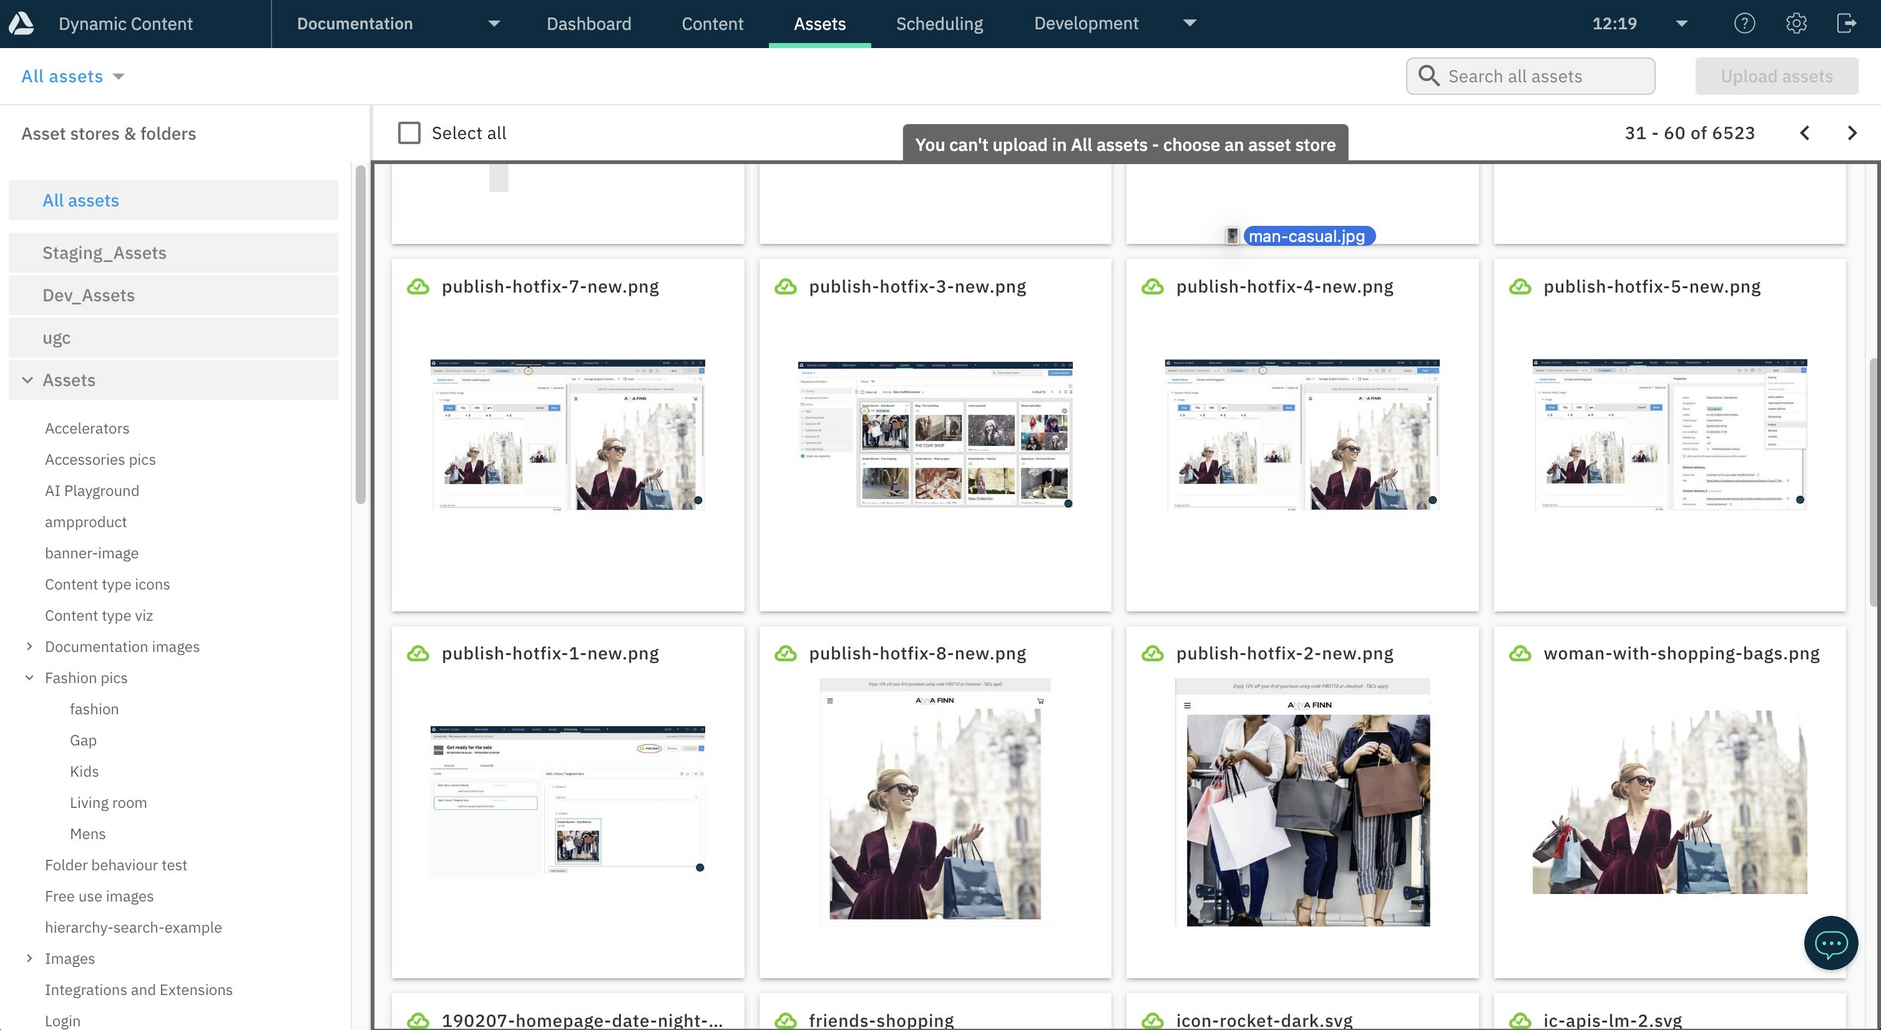
You must choose a folder, or an asset store in order to upload assets. If no asset store is selected and you drag files into the asset window then a warning message is displayed, as shown below:
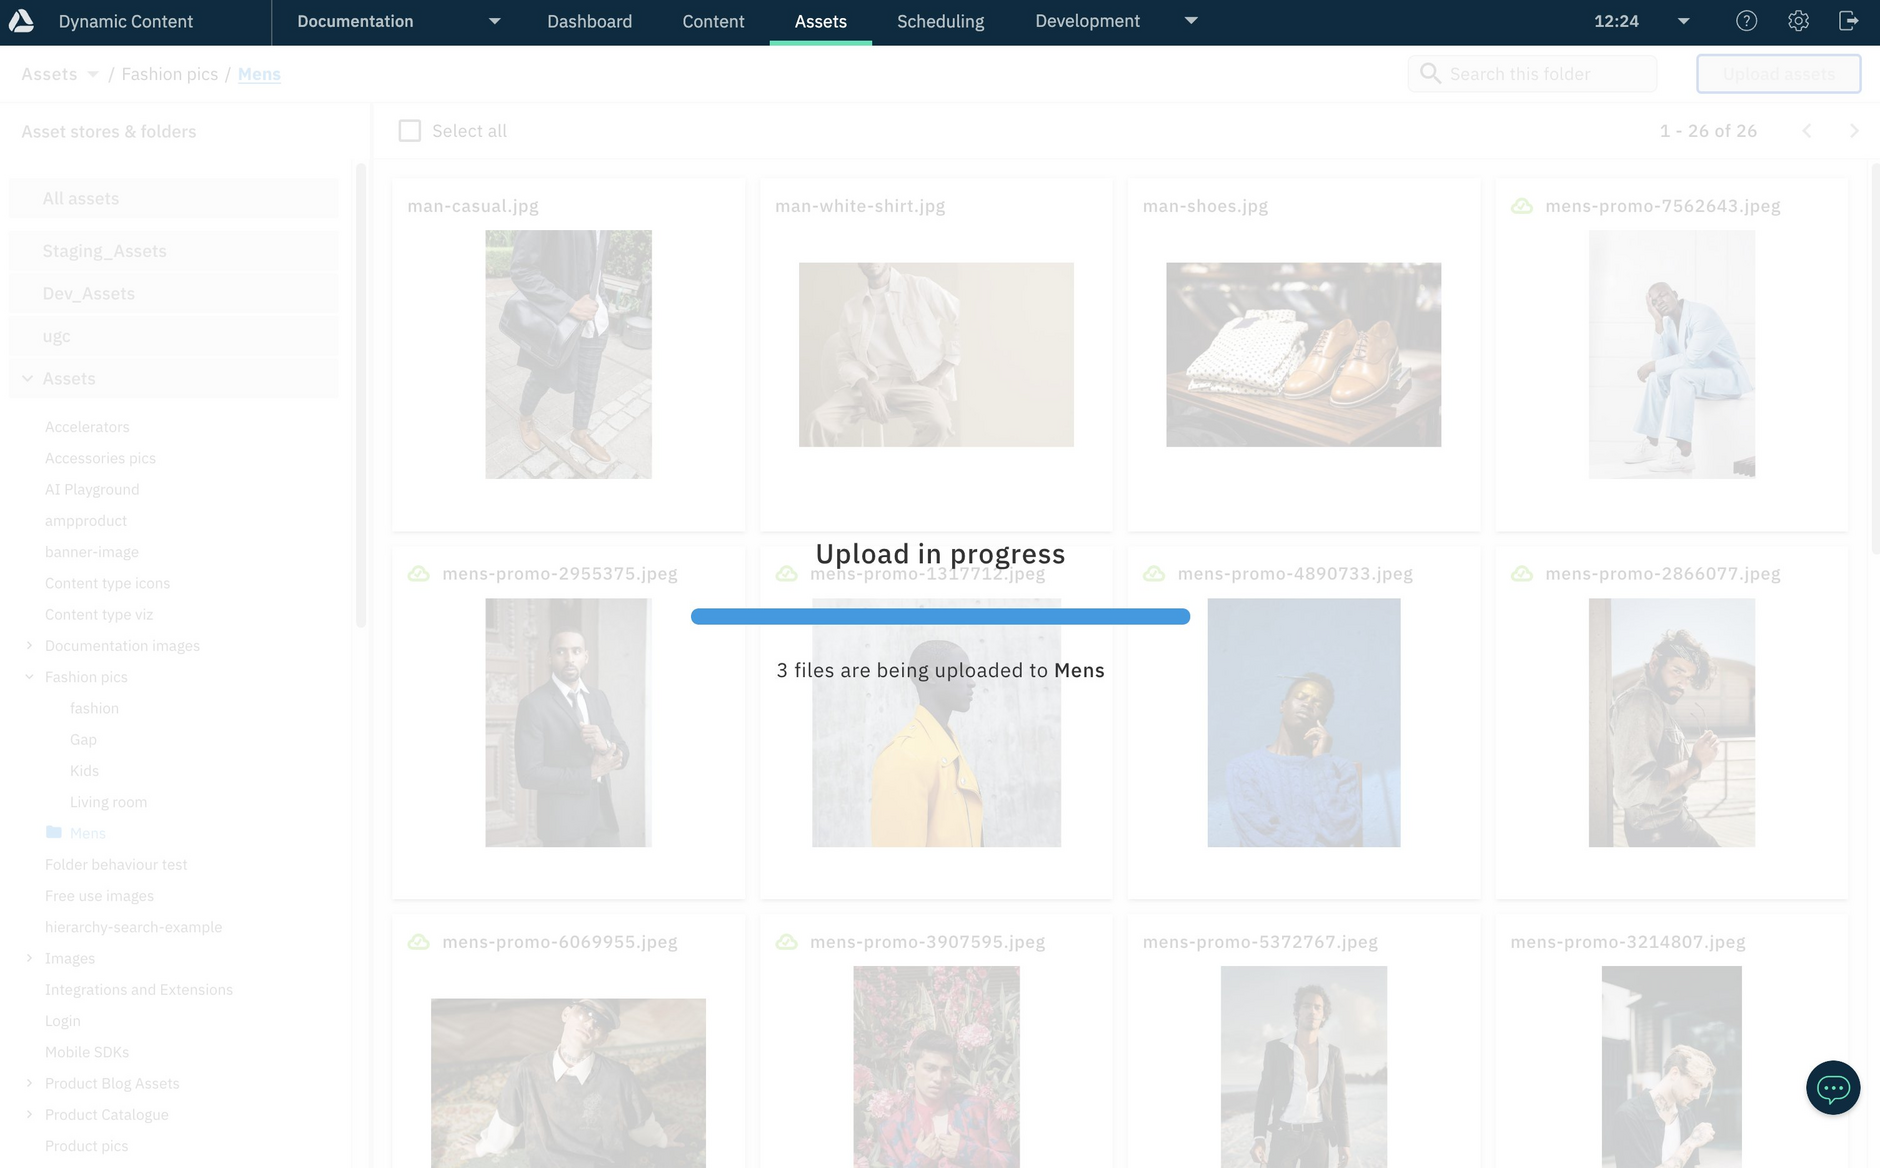
The upload progress is displayed.
When the upload is complete, a notification confirms the number of assets uploaded and provides you with the option of publishing the assets.
The order in which assets are arranged on the Assets tab is based on the modified date, starting with the most recent modified date.
When you upload assets using the assets tab, the same validation is performed as when you upload via Content Hub. For information about supported file types, maximum file sizes and other validation, see Content Hub FAQs.
Publishing on uploadLink copied!
Publish on upload saves you time by streamlining two separate processes - upload and publish. Following upload you are given the option to immediately publish assets.
Once publishing is complete, the publish status icon on the uploaded assets displays with a green check. If any of the uploaded assets cannot be published their publish status icon is an orange exclamation mark to indicate that the publish was unsuccessful.
In the example below, two images were published on upload, but publishing the video failed. Videos cannot be published on upload because they require a transcoding profile which must be added in Content Hub.
Some asset types cannot be published from the Assets tab and so cannot be published using the publish on upload feature. For more information, see Publishing from the Assets tab.
Considerations for duplicate filenamesLink copied!
Each asset within an asset store must have a unique name across all folders. This means you cannot upload a file with same name as an existing file, even to a different folder. For example, if you already have an asset named 'basic-white-tee-shirt' in the Men folder, you are not permitted to upload another file named 'basic-white-tee-shirt' to a different folder, for example 'Women'.
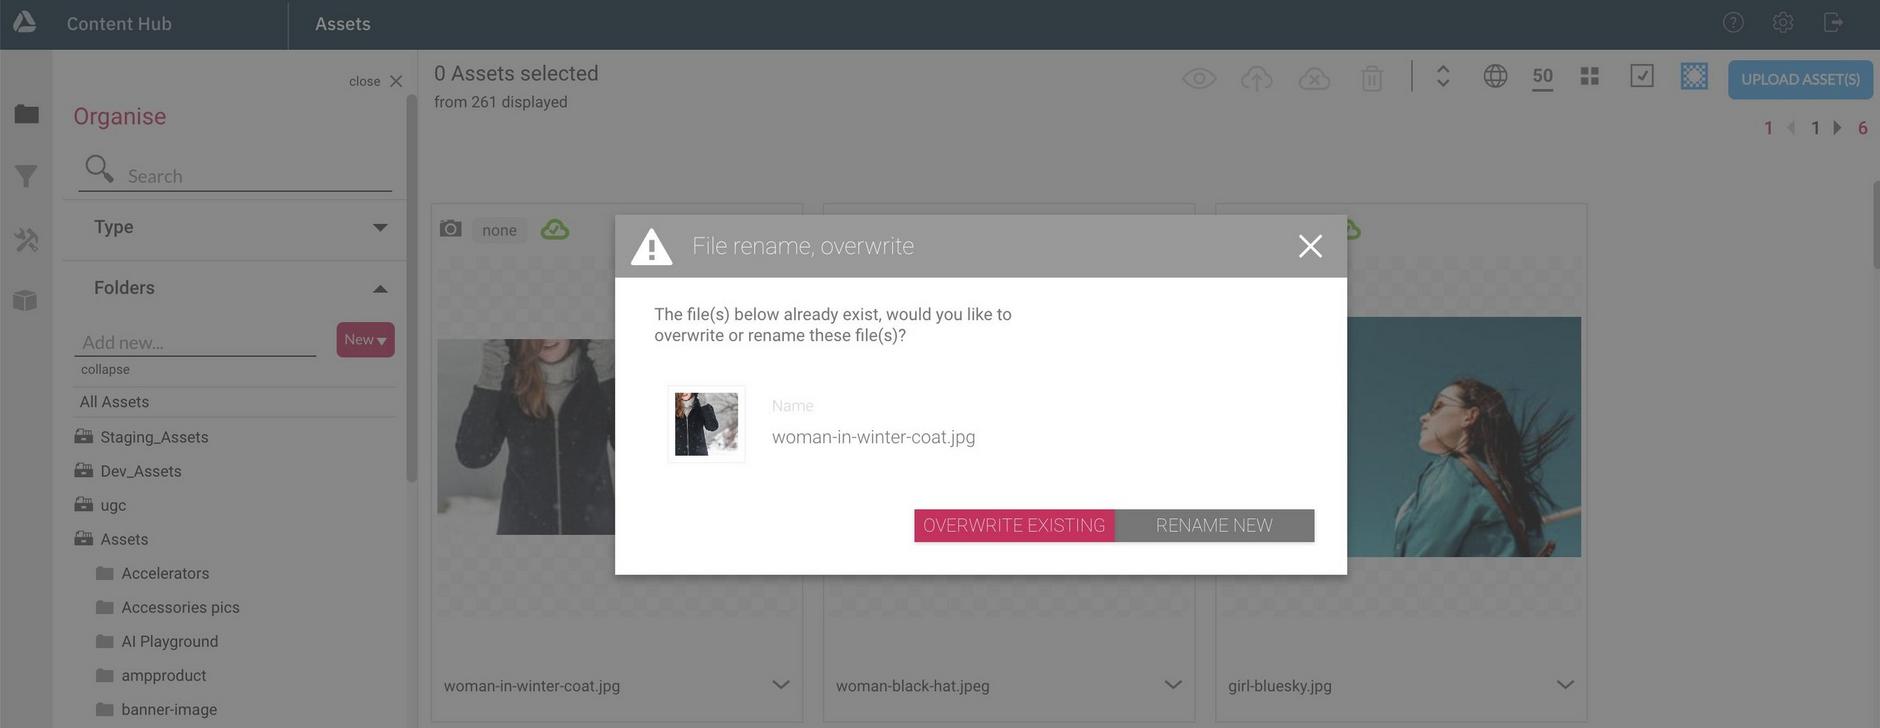
If you do attempt to manually upload a file with a duplicate name, you are given the option of overwriting the existing asset or creating a new asset in Content Hub.
An example of the duplicate filename message is shown in the image below.
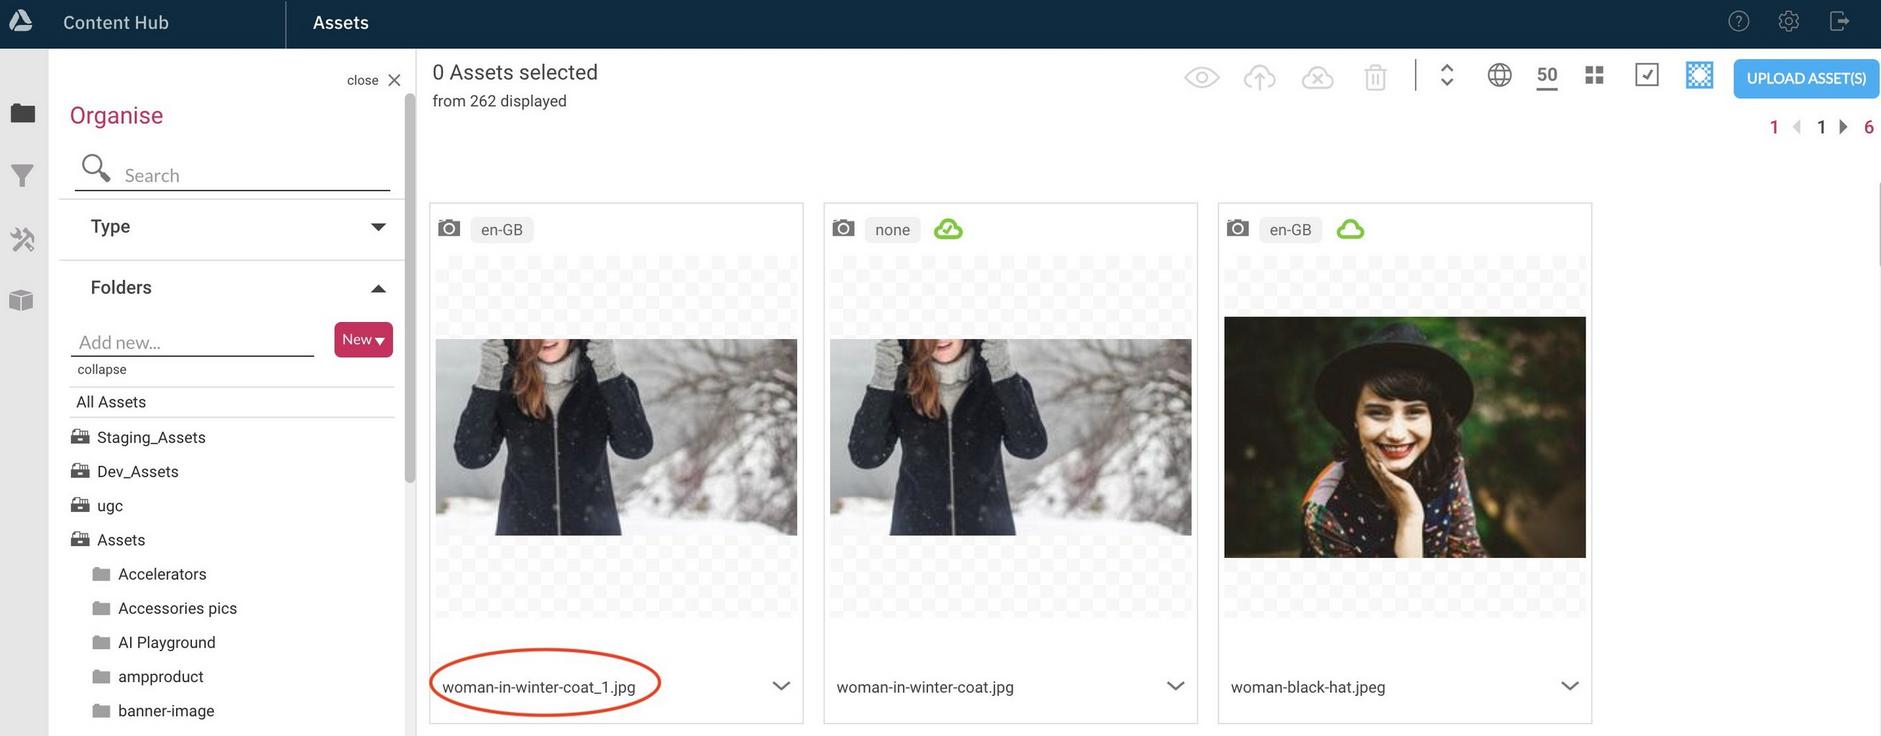
If you choose the "rename new" option, a new asset is created with a name formed from the original filename with a number appended, as shown in the image below.
Note that it is possible to have a file with the same name in different asset stores. In this case the most recently published asset will be retrieved from the asset's URL.
When working with unpublished assets with the same name in different asset stores, the order in which assets are retrieved is determined by the virtual staging environment content selection rules.
Reserved and unsafe characters in filenamesLink copied!
The following characters must not be included anywhere in a filename of a file to be ingested into Amplience. Including one of these characters in a filename will lead to problems when ingesting the file, or retrieving the file using Dynamic Media with the Media Delivery API. If you need to work with a file containing one of the characters shown below, rename it locally before ingesting the file or rename the ingested asset.
Note that this is not an exhaustive list and we recommend only using URI safe characters, excluding those characters shown above.
