Settings
There are two main categories of settings for Dynamic Content.
- Global settings for dates and times, and content, which apply across all hubs
- Hub settings for defining values on a per hub basis, for example, locales and visualizations
Date and time settingsLink copied!
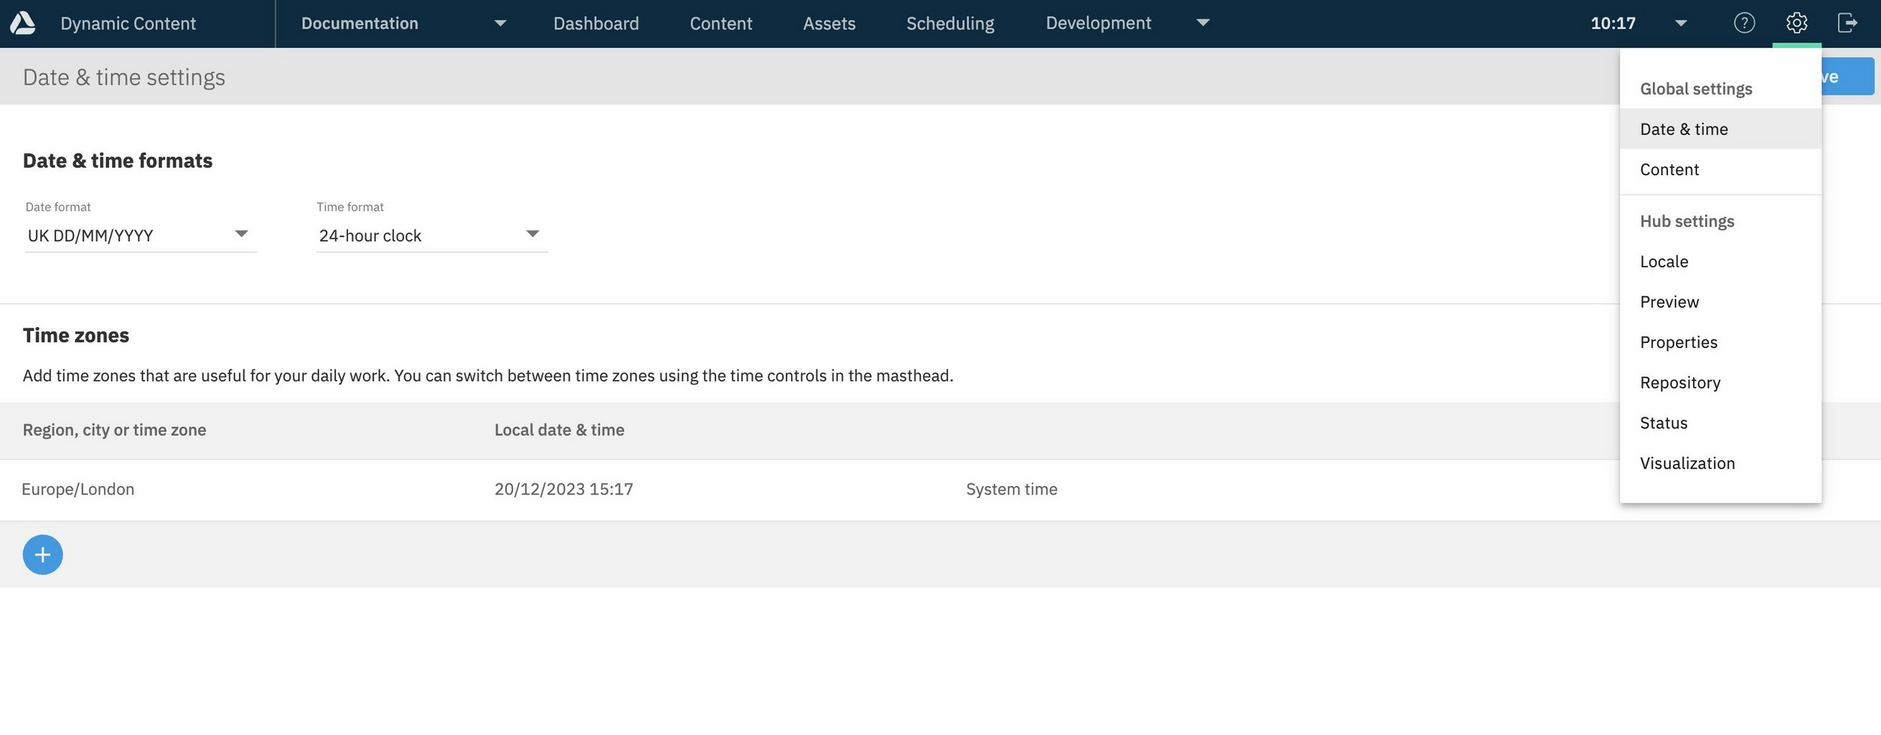
Choose "Date & time" from the "Settings" menu to:
- Set the date and time format
- Add time zones and switch between them in the masthead
These are global settings that are applied across all your hubs.
Date and time settings are stored locally with your browser, as a result of this:
- If you work in an incognito browser, closing the browser will lose your local date and time settings
- Having different accounts logged into separate browsers means you could have different settings for each
- An update to the browser could cause the settings to be lost from the browser local storage
Setting the date formatLink copied!
Use the Date & time formats section to display dates in UK or US formats, and use a 12 hour or 24 hour clock.
Adding and switching between time zonesLink copied!
By default when you view events and editions, the start and end date will be shown in the system time zone, that is the local time set on your computer. The system time will be displayed in the masthead unless you have selected another time zone.
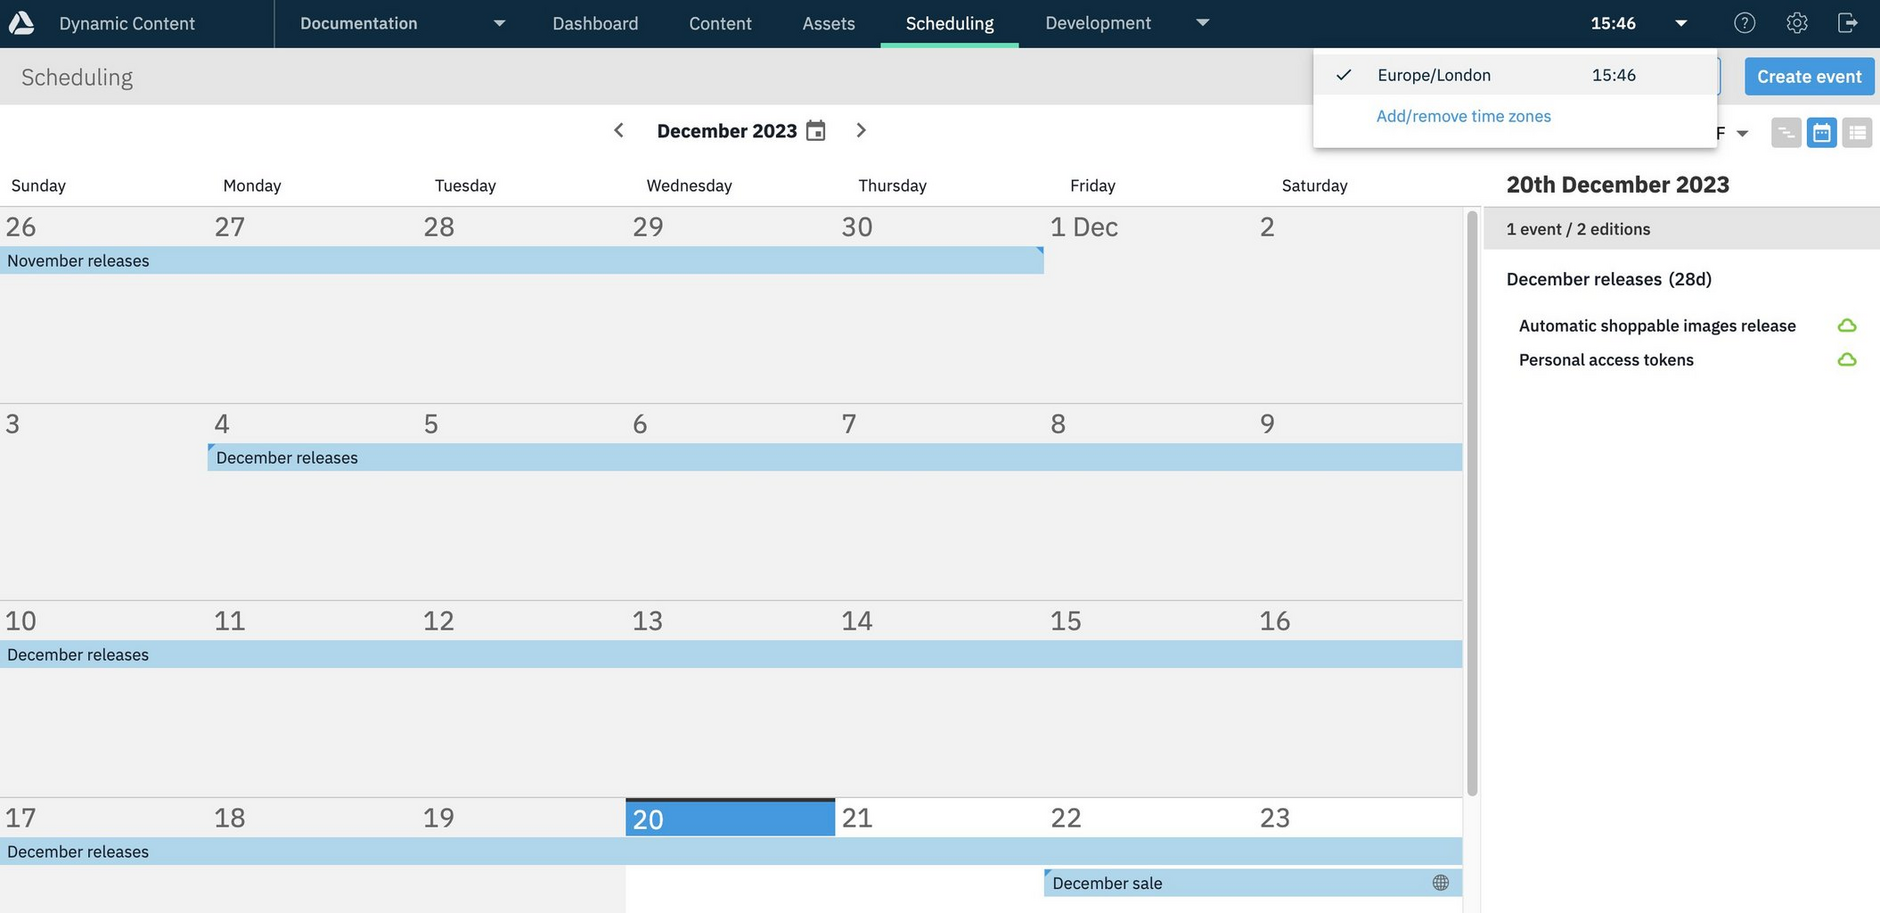
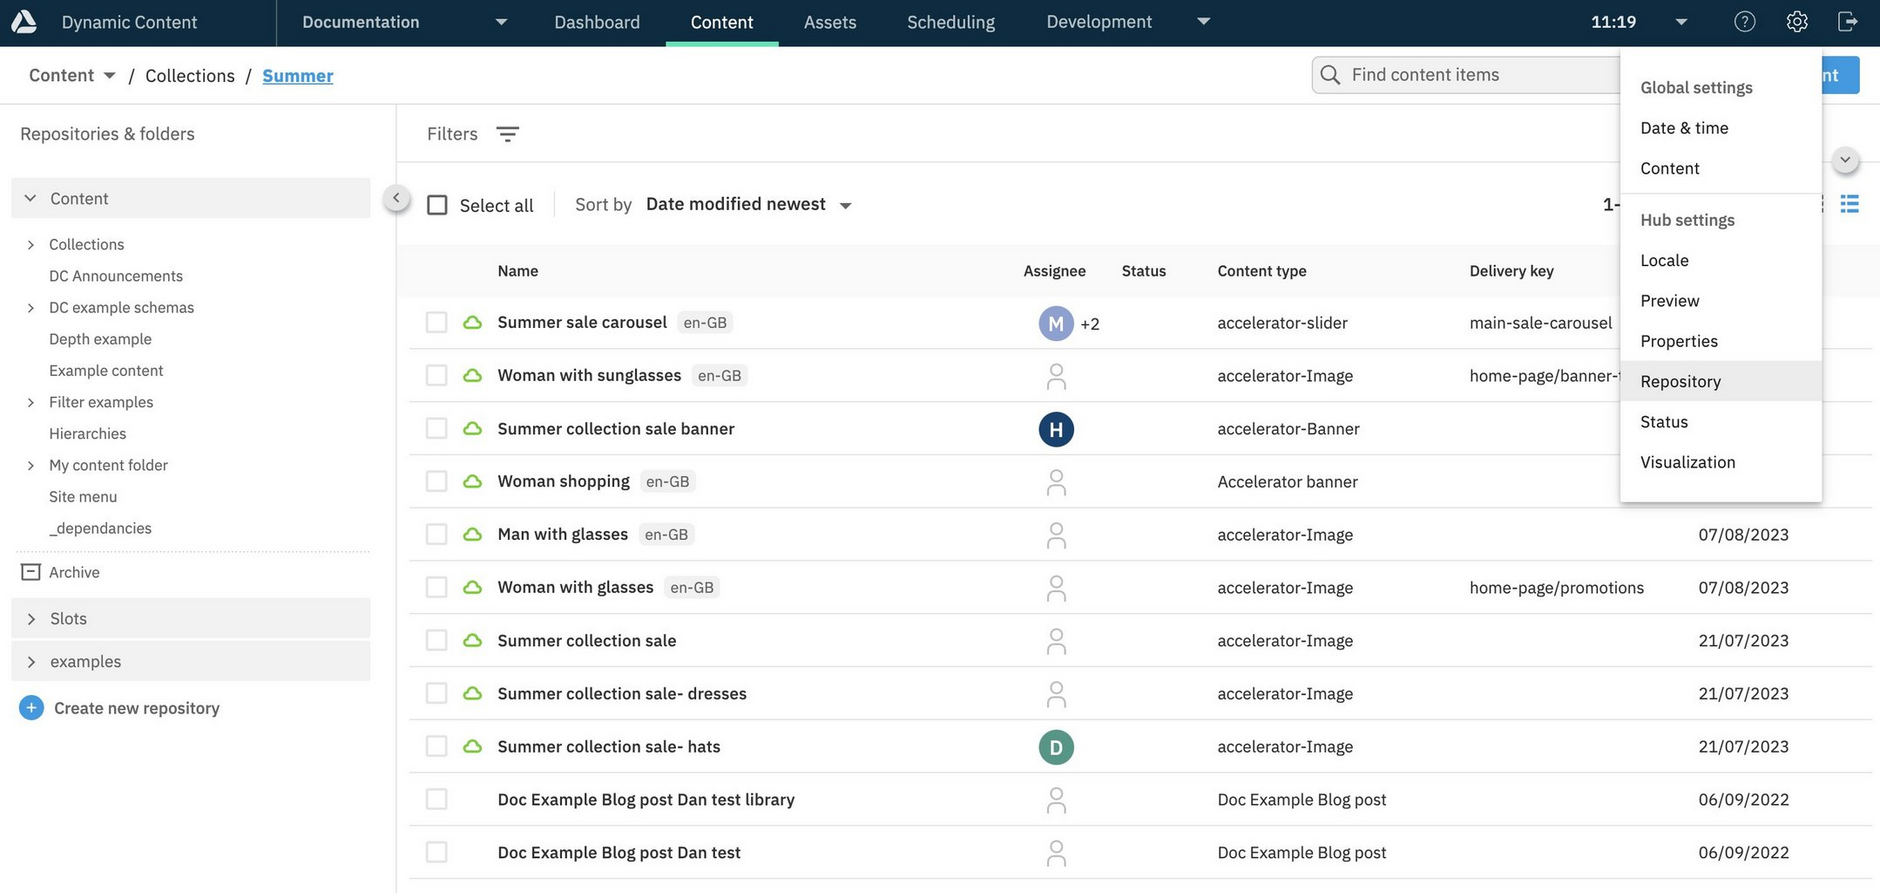
To add a time zone choose "Add/remove time zones" from the menu or choose "Date and time" from the settings menu.
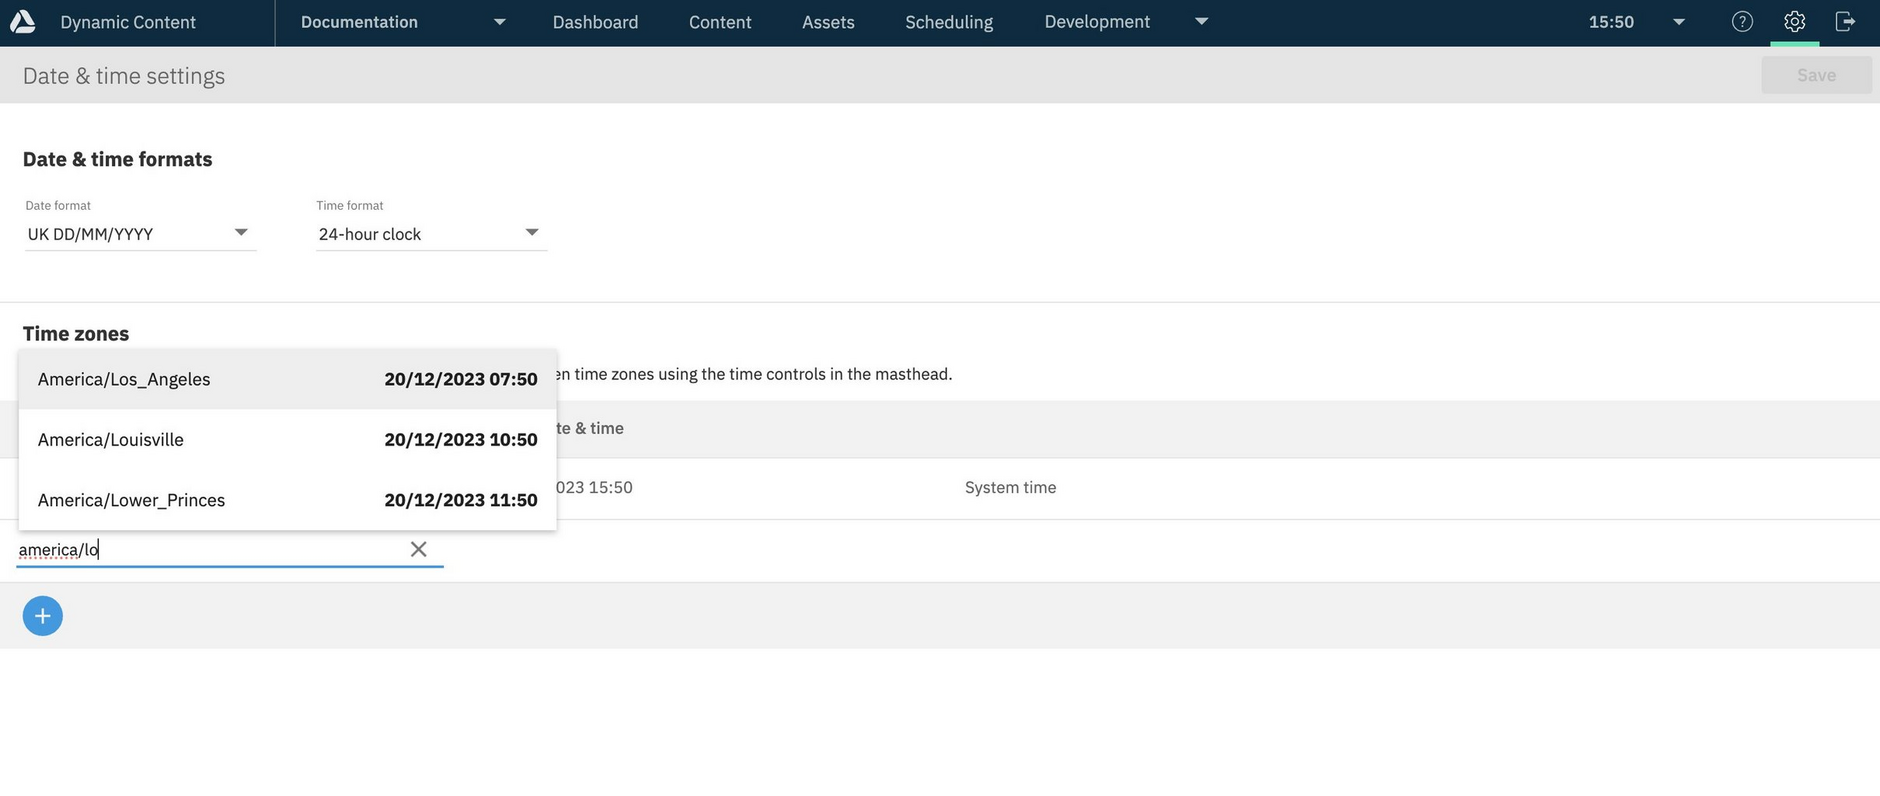
In the Date & time settings window, choose the "+" icon and click in the text box labelled "Enter a region, city or time zone". A list of available time zones is displayed showing the region and local time in that region. You can type a city or region name to narrow the selection.
Choose the time zone you want and click the "Save" button at the top of the window.
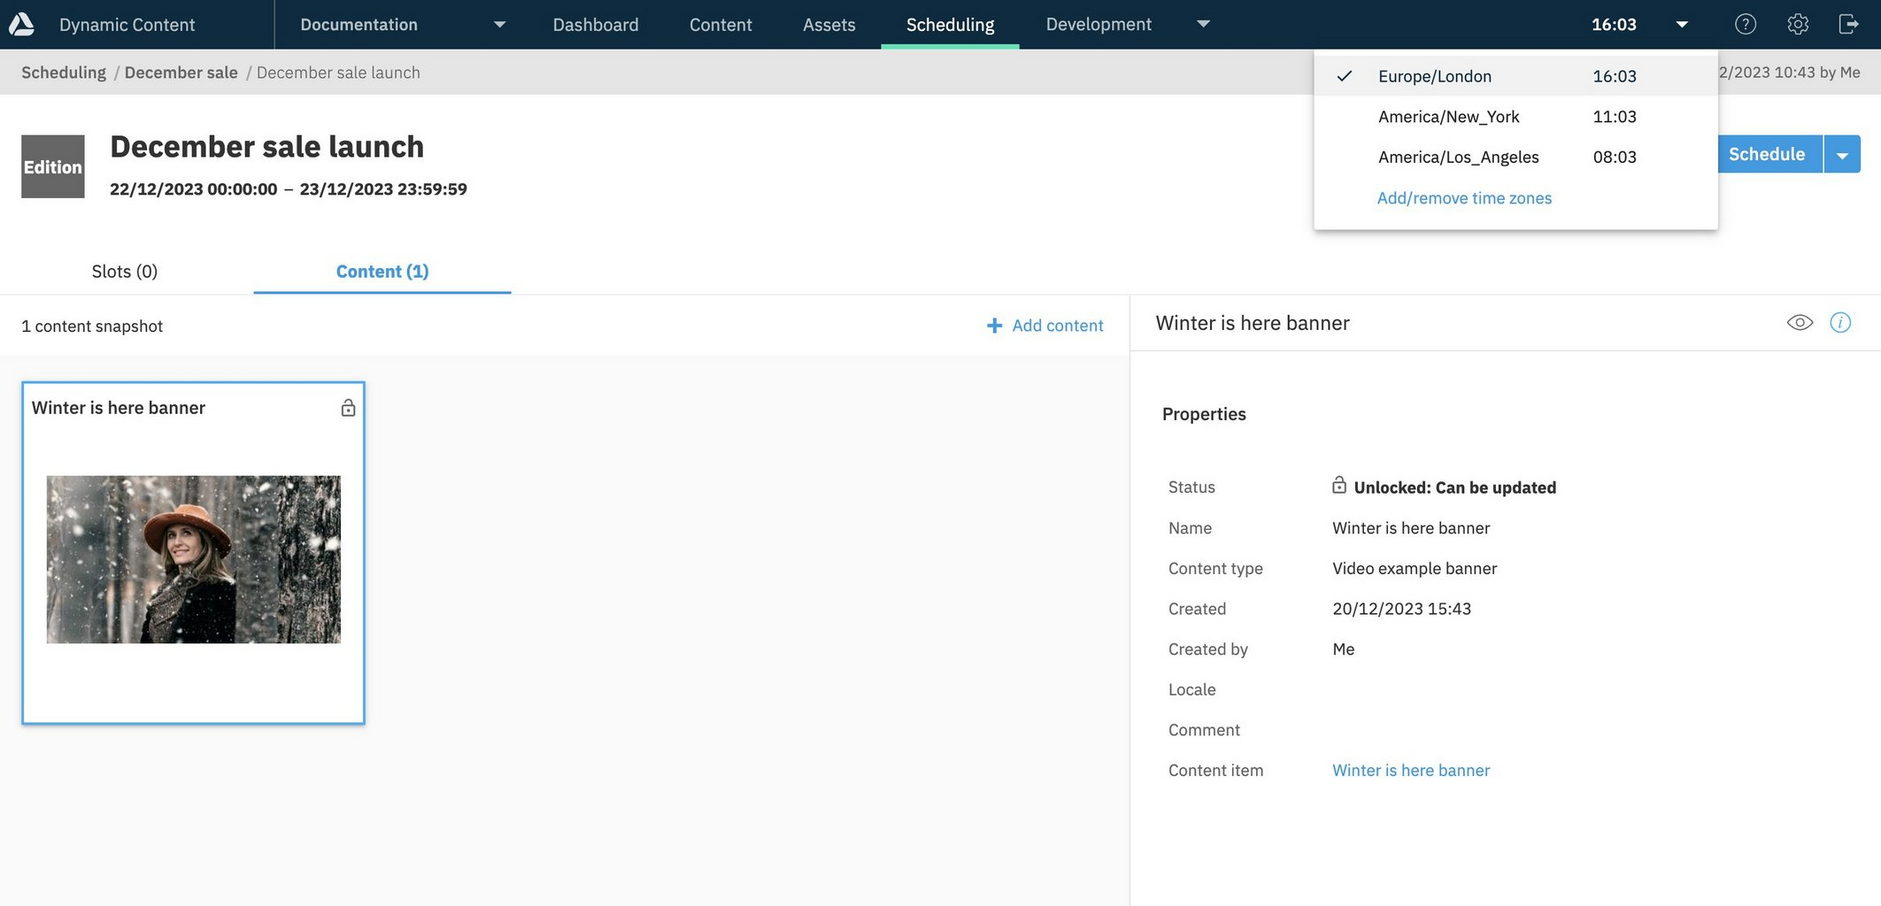
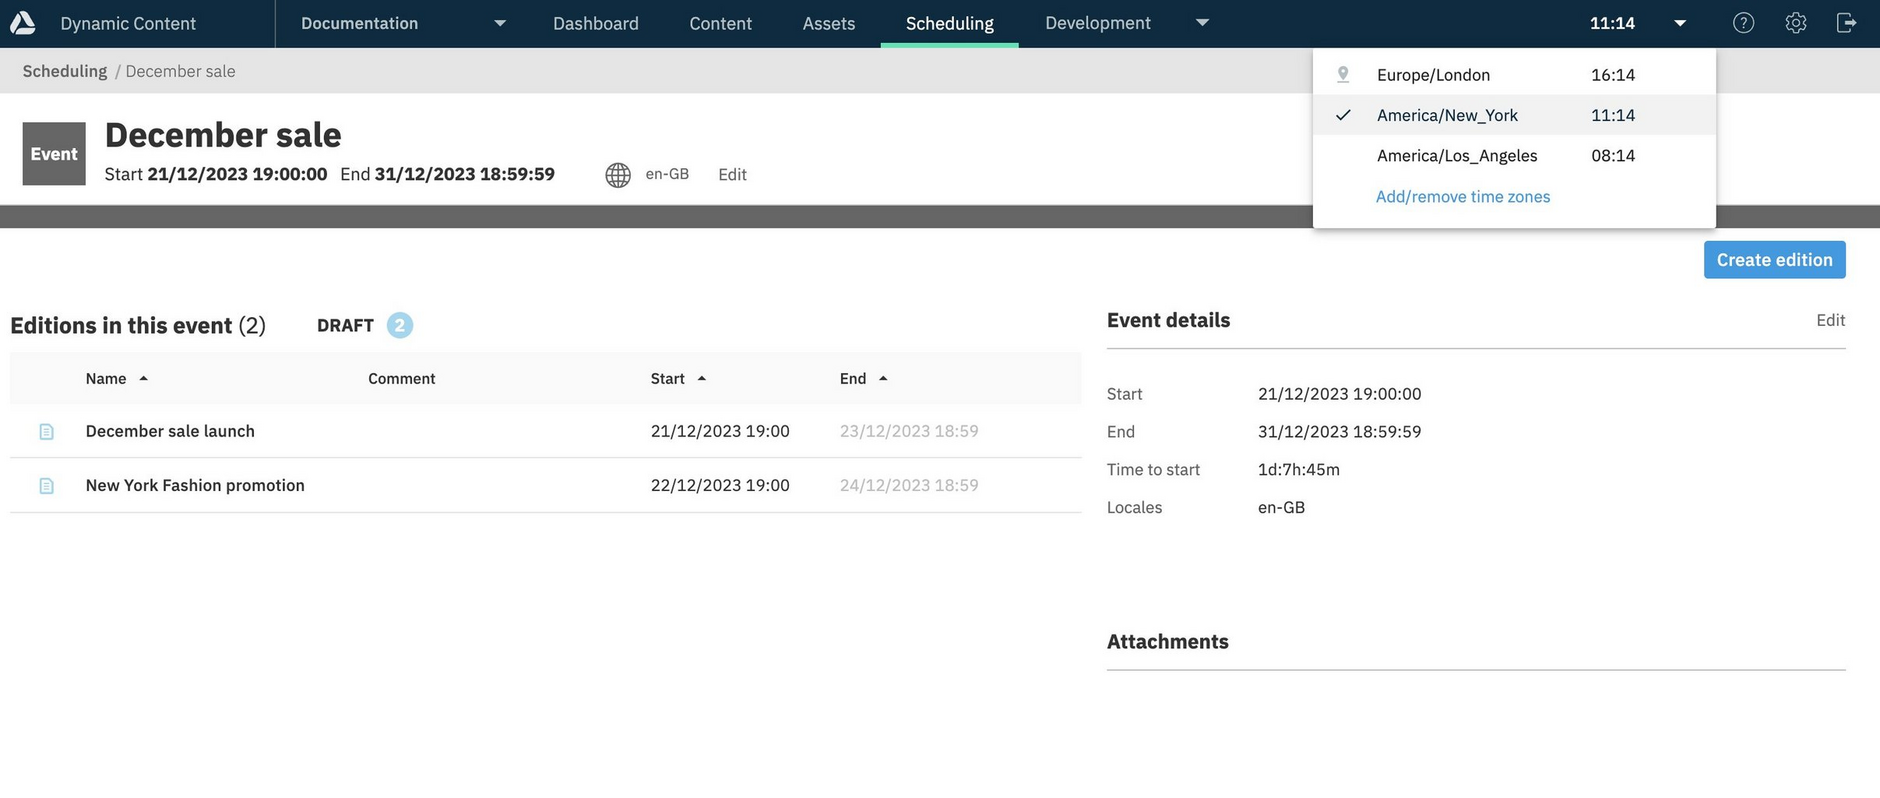
The time zone is now available in the time zones menu in the masthead and you can switch to a time zone by choosing it from the menu. In this example we'll choose the "New York" time zone.
The start and end times for editions that you view, edit or create will be displayed in the time of the time zone you have selected. The creation and modification date of content items in the production view are also shown in the time of the currently selected time zone.
Note that Dynamic Content uses UTC timestamps, all that you are doing when changing the current time zone is changing the offset in which dates and times are displayed in.
The start and end dates for the editions in the sale event are now shown in New York time.
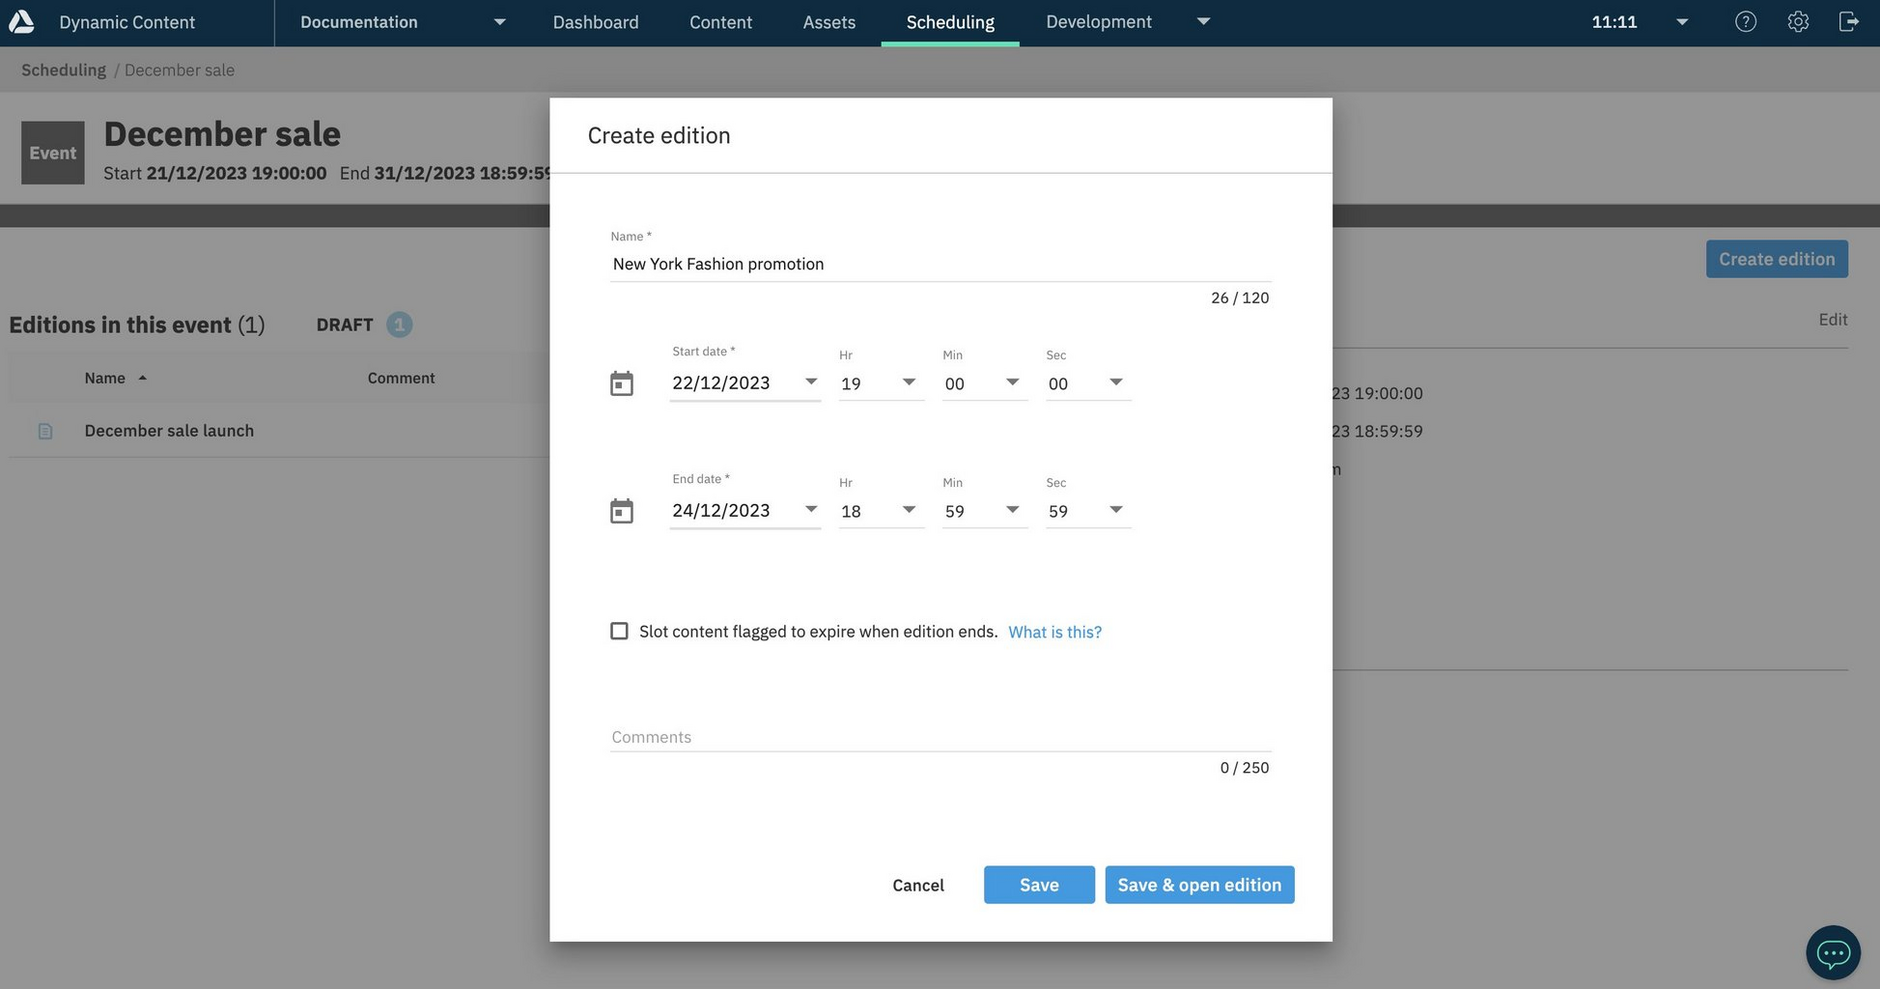
With the New York time zone set, it's now easier for a UK based planner to create an edition to go live at 7PM New York time rather than having to do the time conversion manually.
Indicating the system time zoneLink copied!
If you have chosen a different time zone from the system time on your computer, then the system time zone is marked in the time zone menu with an icon. In the image below, the system time is set to the Europe/London time zone, but the current time zone is America/New_York.
The time zone listLink copied!
The time zones shown in the menu are based on the tz database. So, for example for the Beijing timezone select Asia/Shanghai and for India use Asia/Kolkata.
Content settingsLink copied!
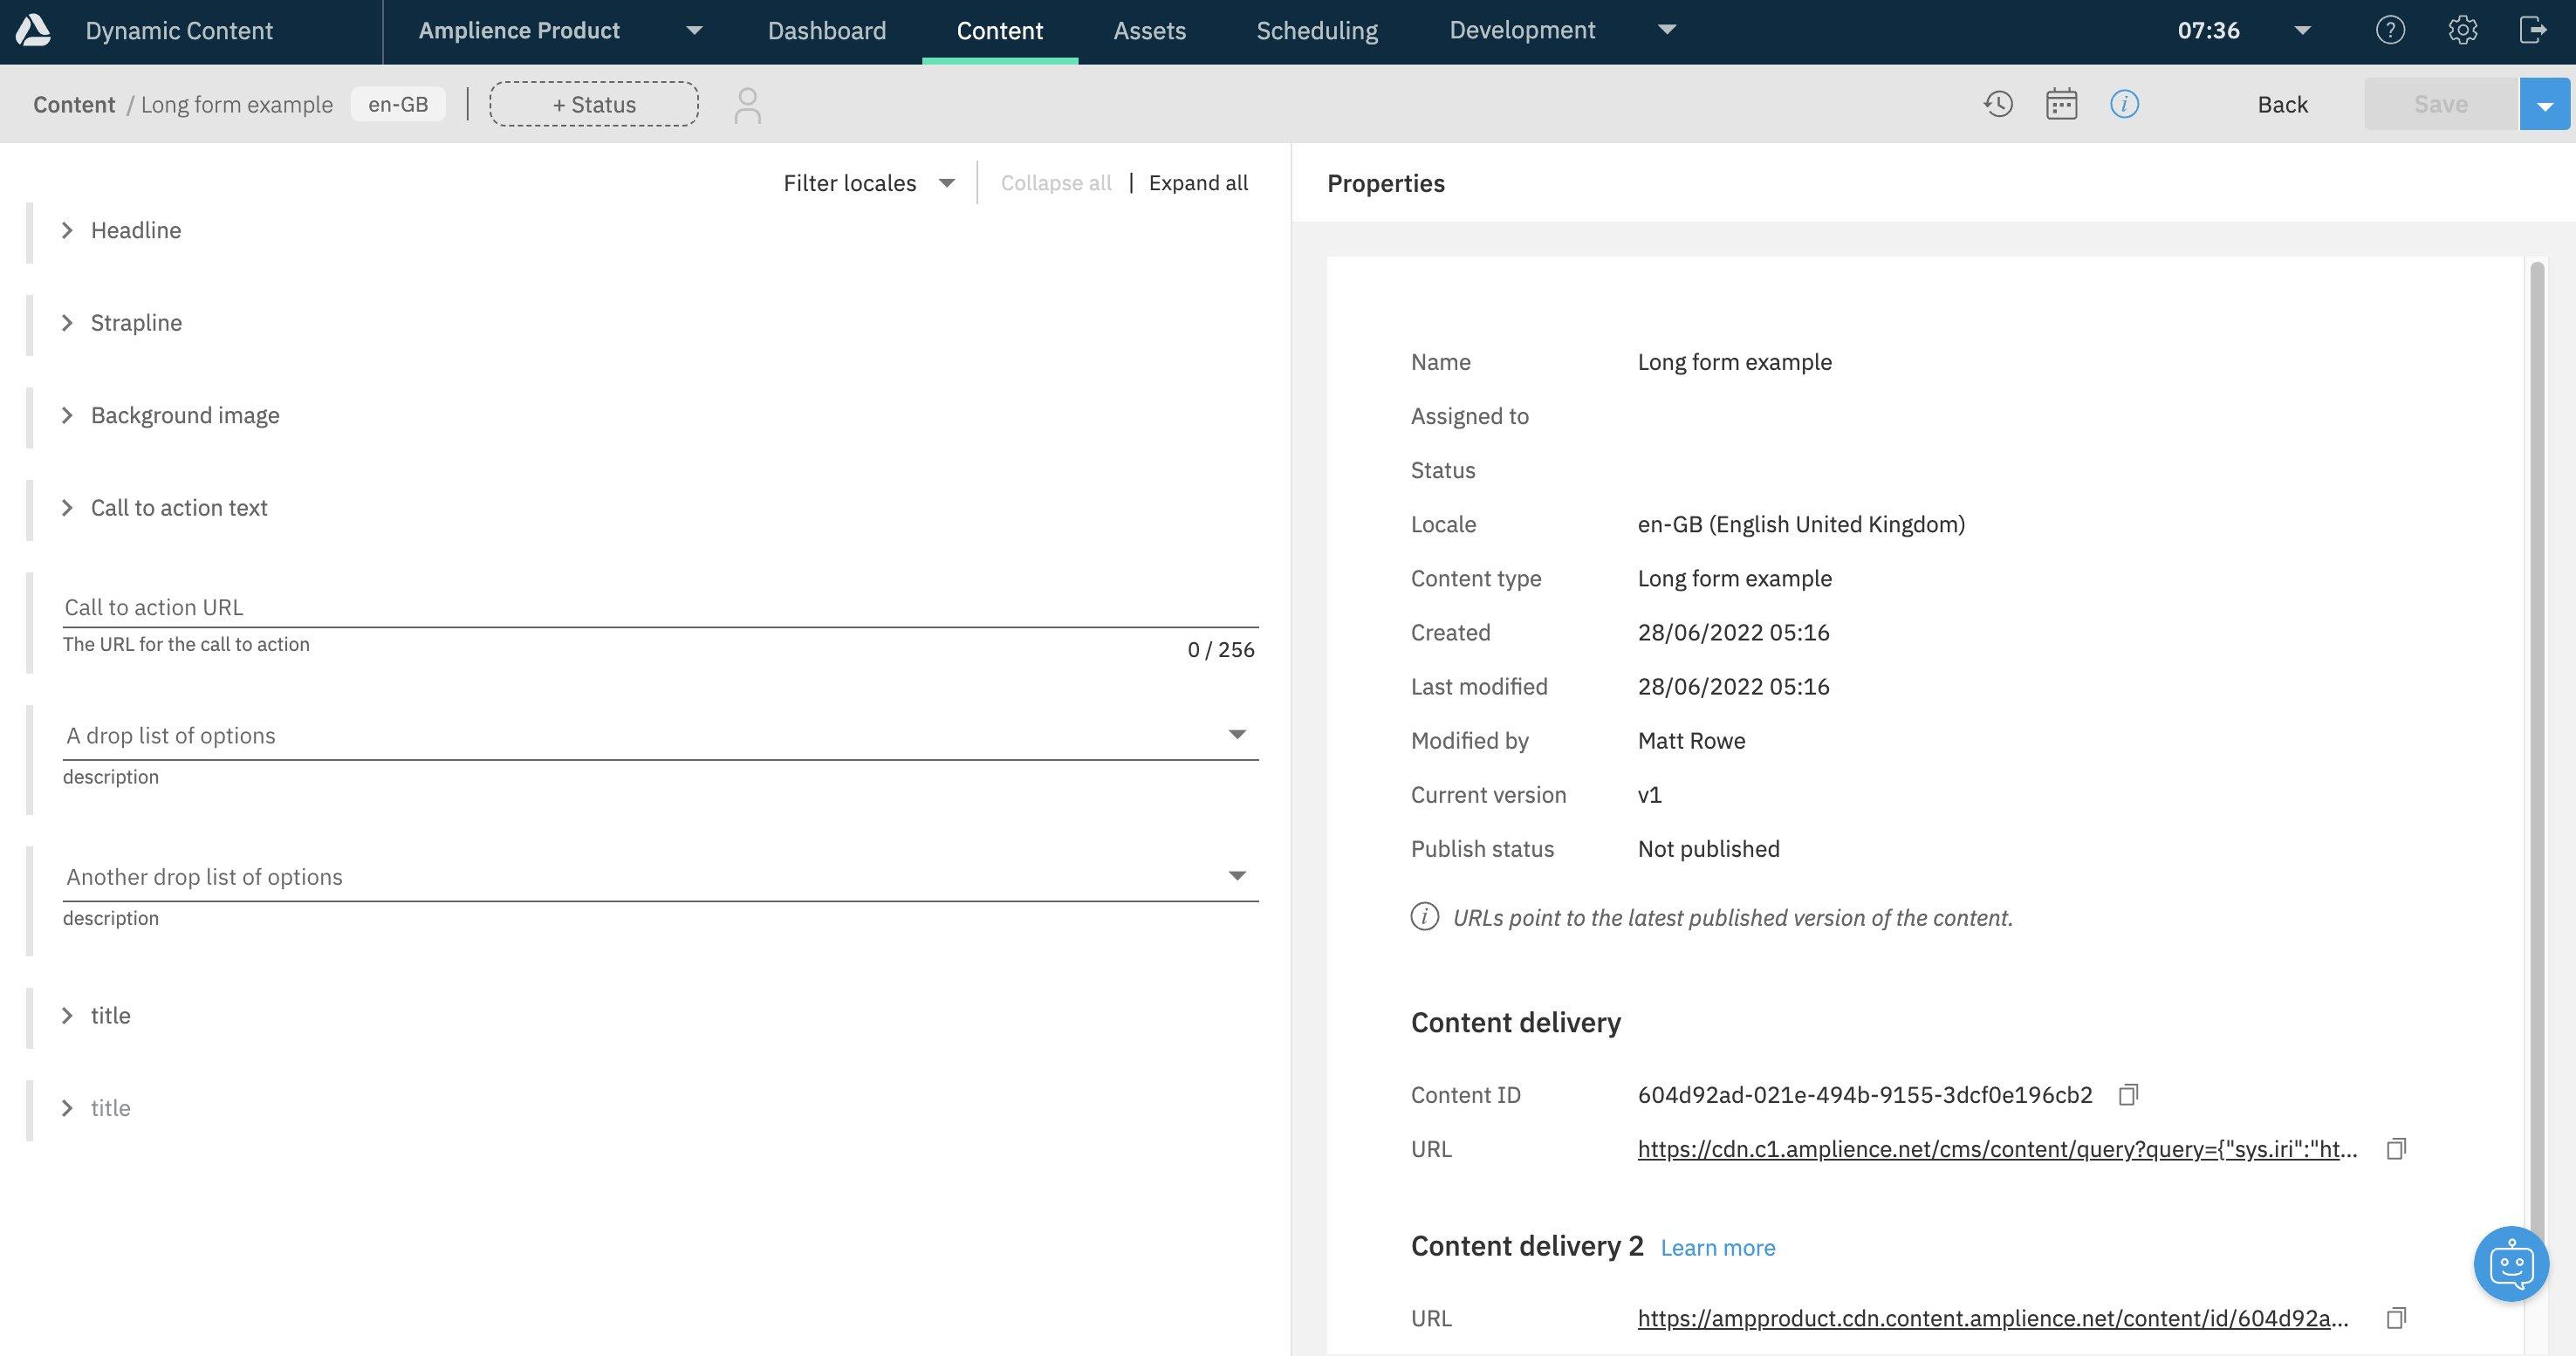
This setting controls whether collapsible fields are initially expanded or collapsed when authoring content, and planning content items in slots for editions.
To set your preference for expanded or collapsed fields, from the "Settings" menu, choose "Content". Then in the "Content" dialog, select how you want collapsible fields to be initially displayed and click "Save".
This setting controls your personal view of content items and is saved in local storage on your device. Your selection won’t remain in Incognito/Private mode or if you manually clear local storage.
If you select "Collapsible fields start collapsed", fields are initially collapsed by default, as shown below.
Hub settingsLink copied!
Hub settings define values on a per hub basis. This section includes Repository and Properties settings, for information about other hub settings, see:
PropertiesLink copied!
To view and set hub properties, select "Settings > Properties".
The hub properties you can view and set are:
-
Name and ID of the hub
-
GraphQL API endpoint of the hub
-
Next Generation Authoring controls whether Next Generation Authoring is enabled. By default, it is enabled. If you experience issues with Next Generation Authoring, you can switch it off without impacting other users.
For more information see Switchover to Next Generation Authoring
-
Schema validation controls whether schema validation can be ignored when copying, moving, or importing content to the hub. See Ignoring schema validation.
Note, this option is available only if you have organization admin or hub admin permissions.
Repository settingsLink copied!
The repository settings let you show and hide repositories and rearrange their display order in the Content Library. The settings are applied per user, per hub, so any changes that one user makes to their repository settings will not affect other users on the same hub. The settings are persistent, so if you hide a repository and then log out, the repository will still be hidden when you log back in.
Hiding and showing repositoriesLink copied!
To access repository settings choose "Repository" from the settings menu. You can also click on the "Repositories and folders" ellipsis (displayed on hover) on the left of the content library window and choose "Show and hide repositories".
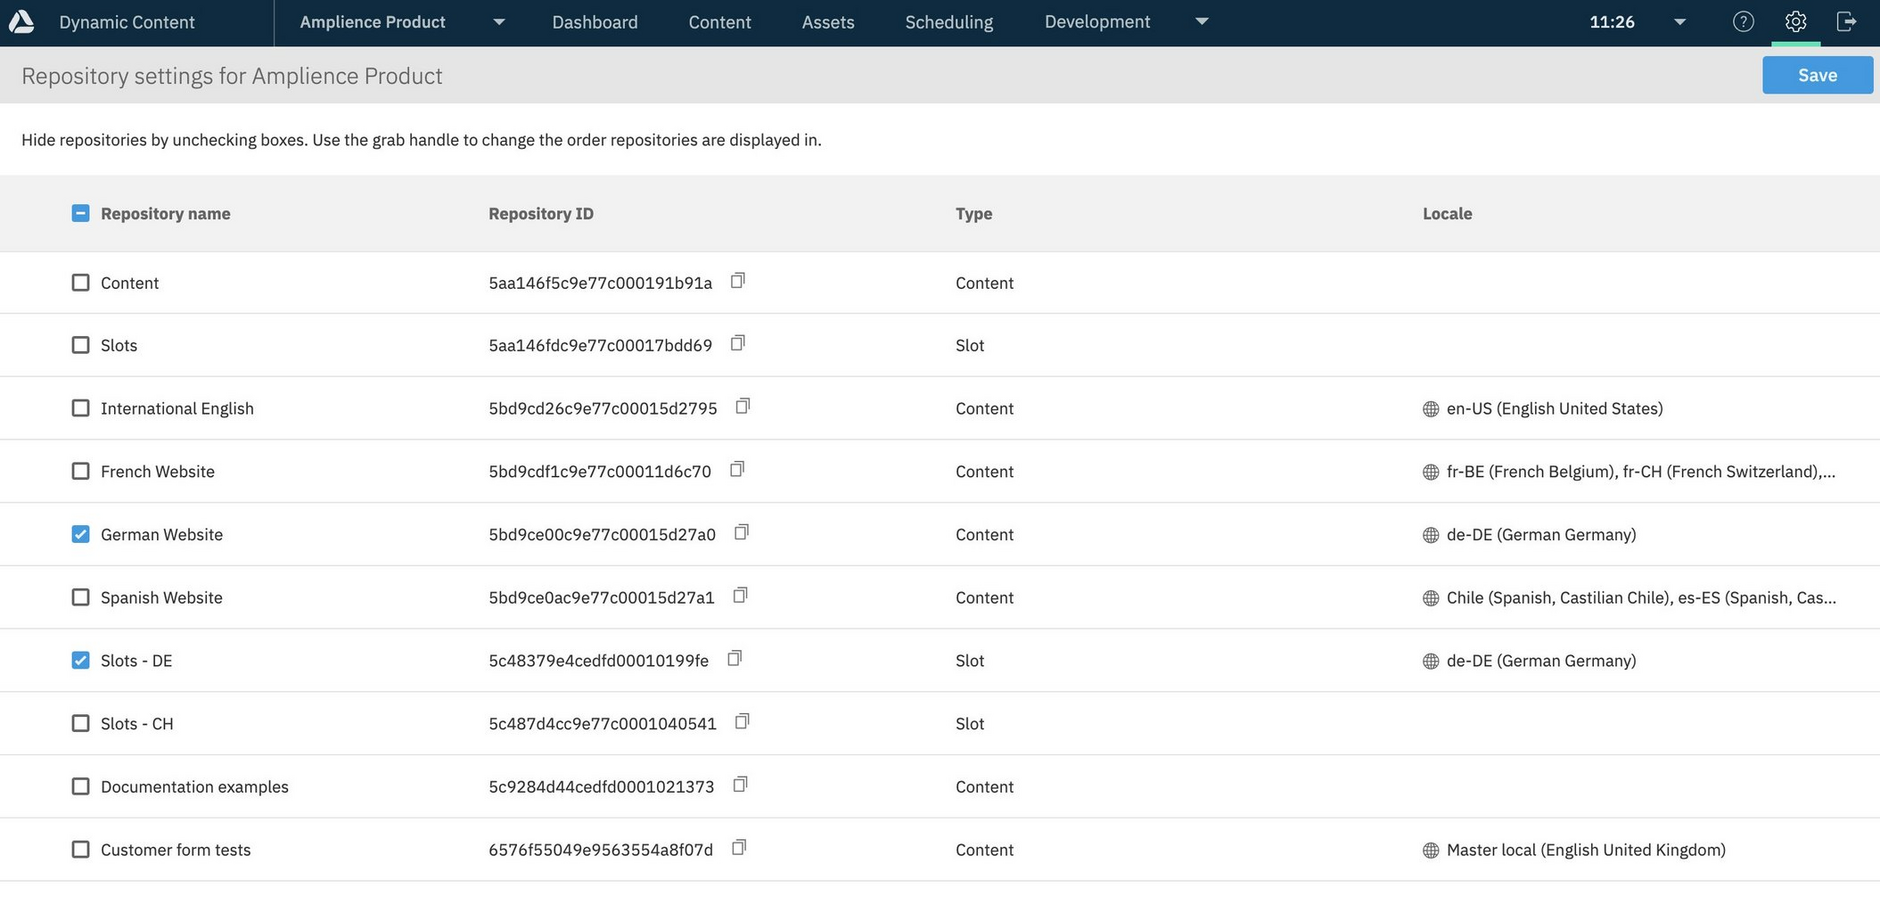
The Repository settings window lists all the repositories that you have access to, along with their assigned locales. Each repository ID is also shown, to help developers quickly access it for use with the Dynamic Content Management API.
Manage which repositories are displayed by toggling the checkboxes. Note that you must have at least one content and one slot repository selected.
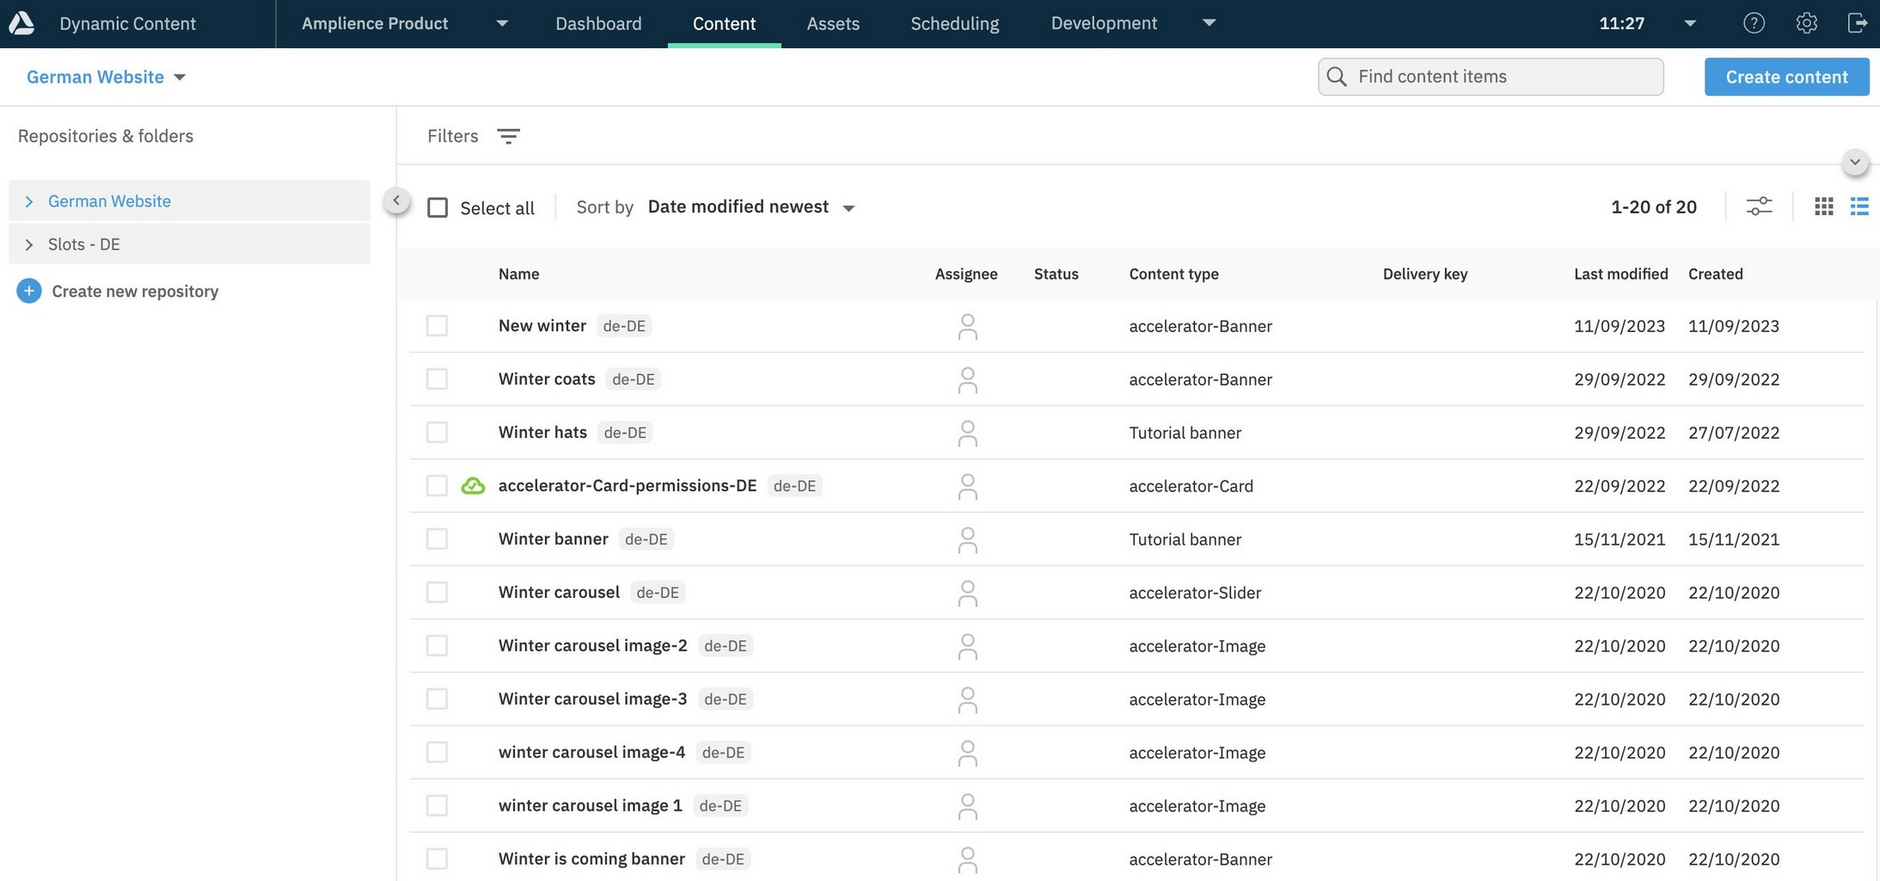
Hiding repositories allows you to focus on just those repositories you're working with. So, if you were working on German content, you might want to focus on just the content and slots for this locale and hide all the other repositories on the hub.
In the example shown below, only the German Website and slots repository with a locale of de-DE assigned to it are selected.
The repository settings also apply to Scheduling, so in this example only slots in the "Slots- DE" repository will be available to add to editions.
Note that any content and slots that were added to editions from repositories that get hidden later on will still be available.
Changing the order of repositories in the Content LibraryLink copied!
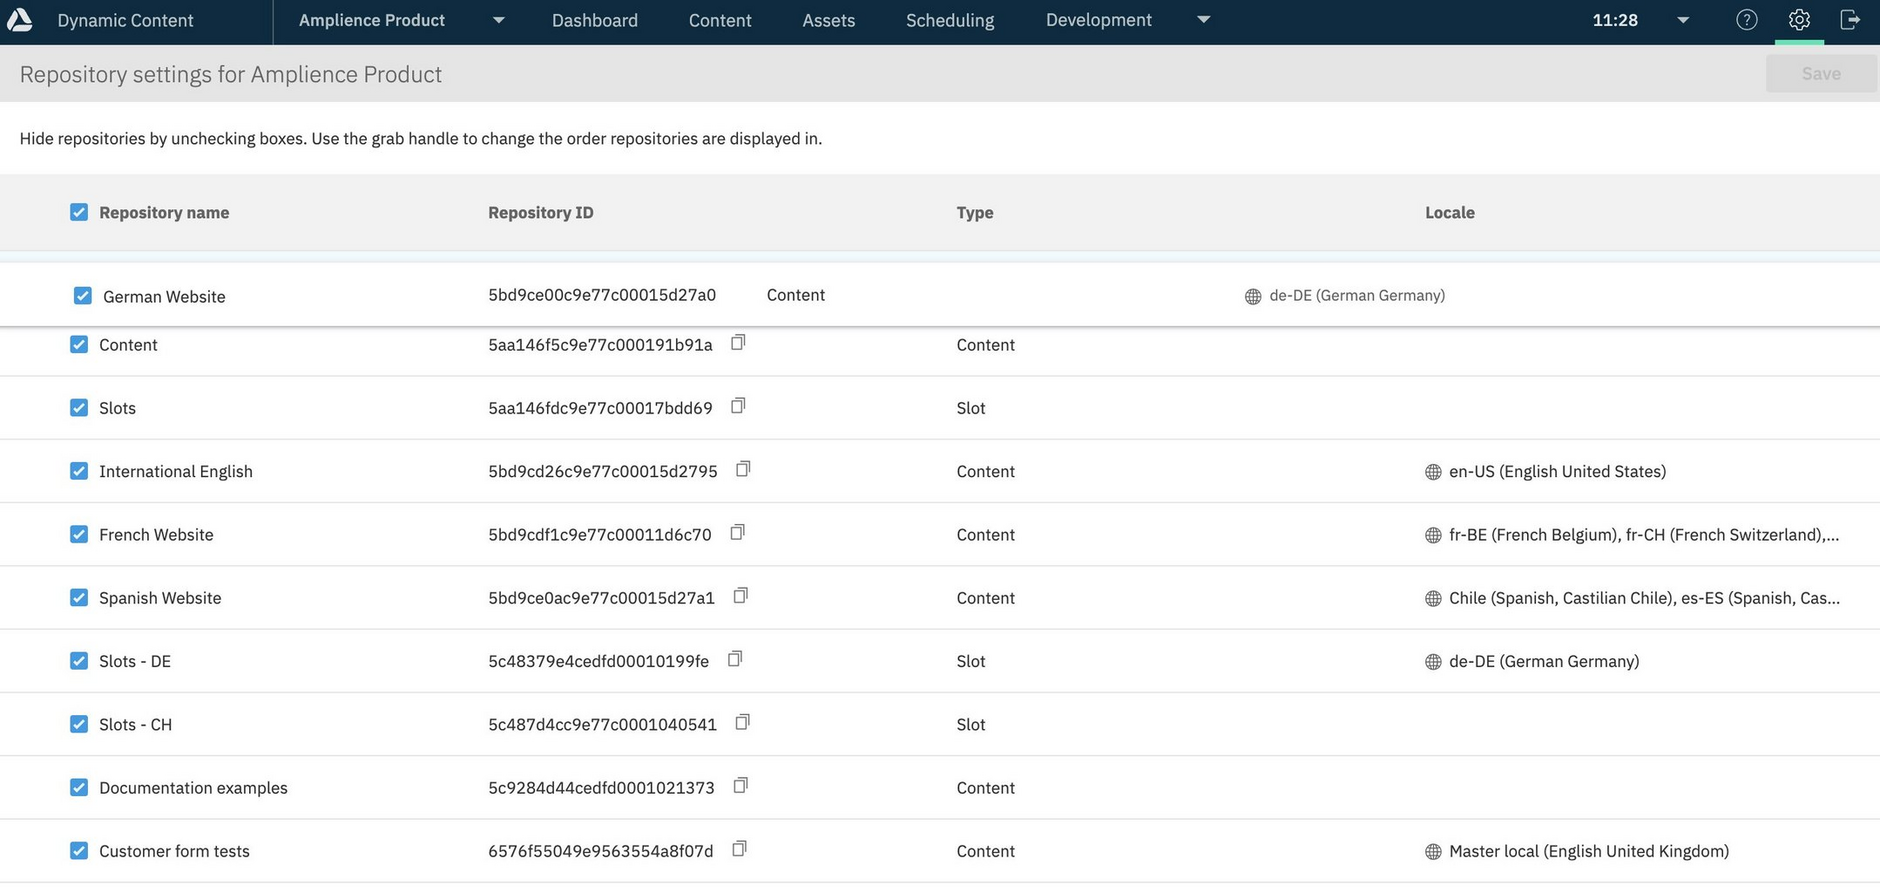
To change the display order of repositories in the Content Library use the drag handle. For example, you could move your preferred repository so it's displayed at the top of the list in the Content Library.

