Twilio integration
On this page we'll walk you through an example of setting up customizable webhooks to connect Dynamic Content with Twilio. When the user publishes a content item in Dynamic Content, a text message will be sent to the user's mobile phone.
This example demonstrates:
- Setting up your Twilio account, ID and phone number.
- Creating a webhook in Dynamic Content that allows data to be sent to your personal phone number via text message upon specified triggers - ie. Newly published content.
- Using the custom payloads feature to send the data in the format defined by Twilio.
We'll walk you through setting up and testing out this example integration step by step.
Pre-requisitesLink copied!
- A usable phone number
- A Dynamic Content account with the developer role assigned for the hub in which you want to create webhooks
Before you begin: configure a Twilio accountLink copied!
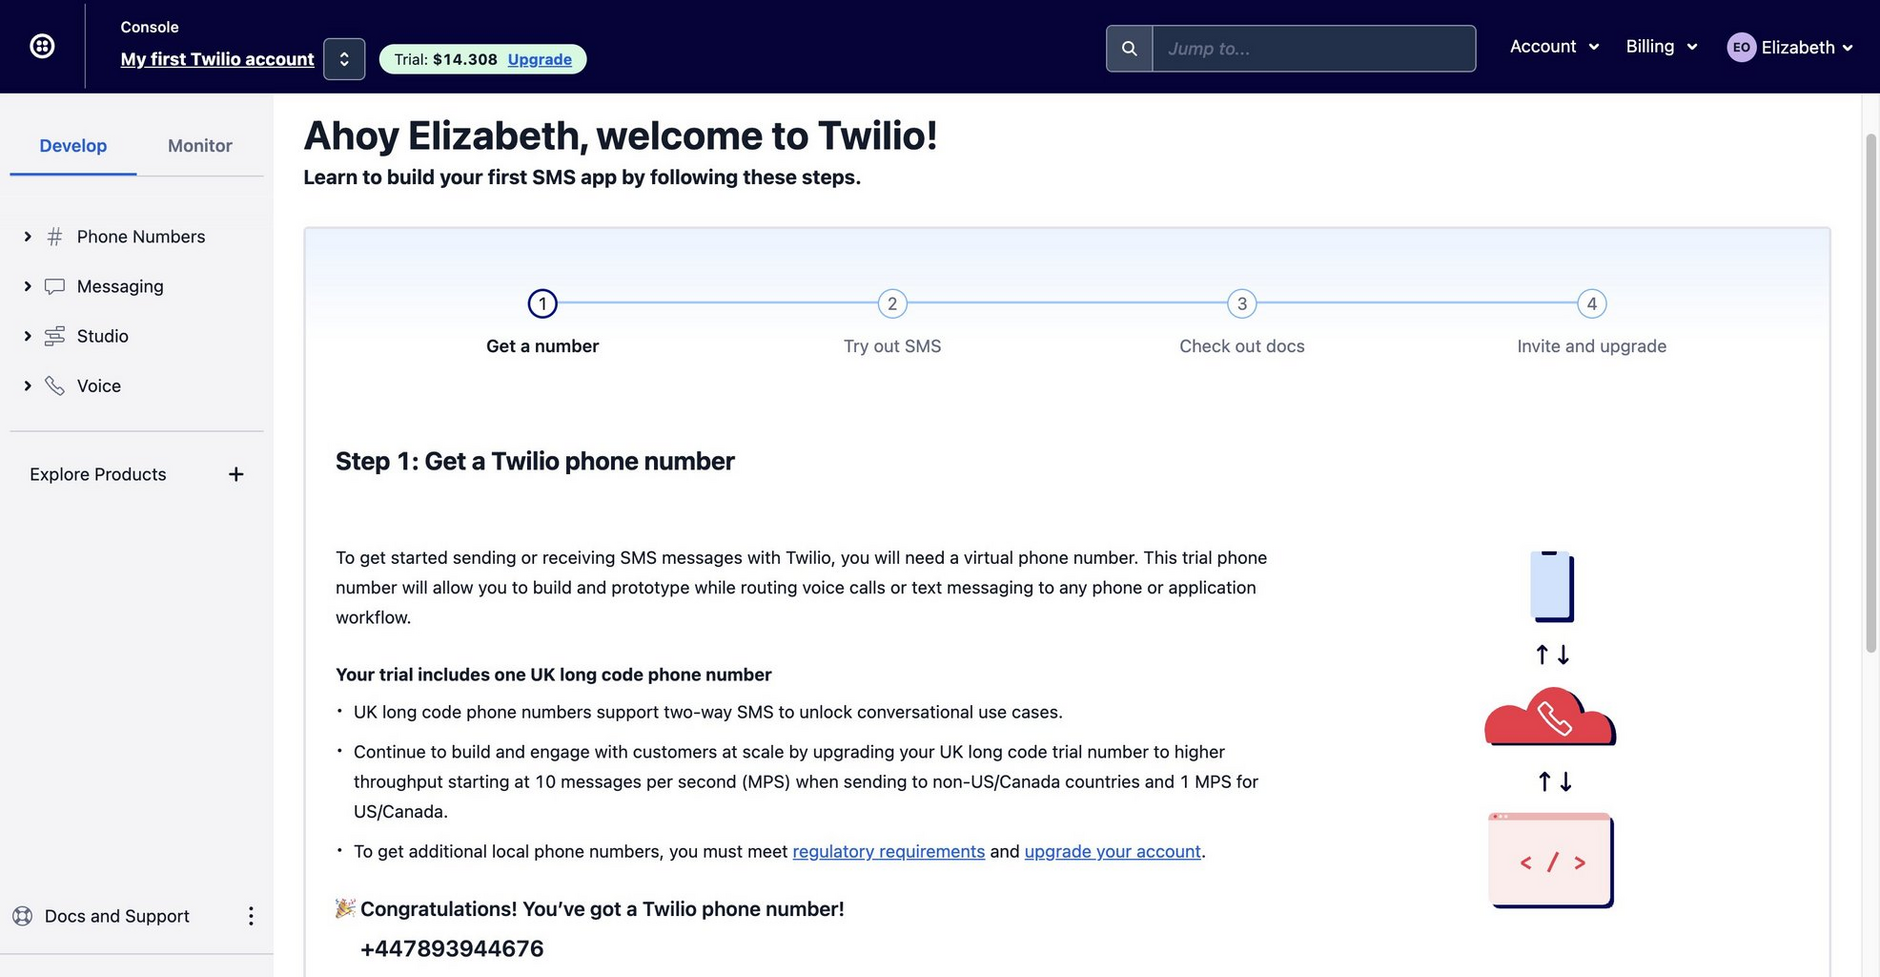
Create an account in Twilio. When you log in to your new account, you will be asked to verify a phone number to receive SMS tests.
Once you have verified your phone number, an account SID, auth token and SMS number will be created for you from the Twilio dashboard. Make sure you make note of these credentials as you will need them to build your webhook later.
Step 1: Create a webhookLink copied!
From Dynamic Content, choose "Webhooks" from the Development menu, then click the "Add webhook" button. Give the webhook a label and paste the webhook URL below into the URL field.
Make sure to replace twilio_account_sid with your Twilio account SID.
Step 2: Select a trigger and add headersLink copied!
Select a trigger in the webhook triggers grid, which details the action that will trigger a text message to be sent to your personal mobile device. For example, in the screenshot below, we have ensured that we will receive a message whenever a snapshot is published in Dynamic Content.
In the headers section, click add a basic auth header, and enter your details for your Twilio account as follows then click OK:
- Username:
twilio_account_sid - Password:
twilio_auth_token
Now add a new standard header. This will be a content-type header to override our standard content-type header. Enter the label and value credentials as follows then click OK:
- Key:
Content-Type - Value:
application/x-www-form-urlencoded
Step 3: Create a custom payloadLink copied!
In this example, we are creating a custom payload for when a content item is published. So we paste the below code snippet into the payload area, ensuring we have selected custom.
From=+{your_twilio_number}&To=+{your_verified_number}&Body=Content%20Item%20Published:%20{{encodeURI payload.rootContentItem.label}}
Replace your_twilio_number with the phone number from the Twilio dashboard and replace your_verified_number with the phone number where you will receive SMS messages.
An example of how the code snippet will look with these elements filled out is shown below, using example contact numbers:
From=+12568576388&To=+447989798798&Body=Content%20Item%20Published:%20{{encodeURI payload.rootContentItem.label}}
Step 4: View the results on your phoneLink copied!
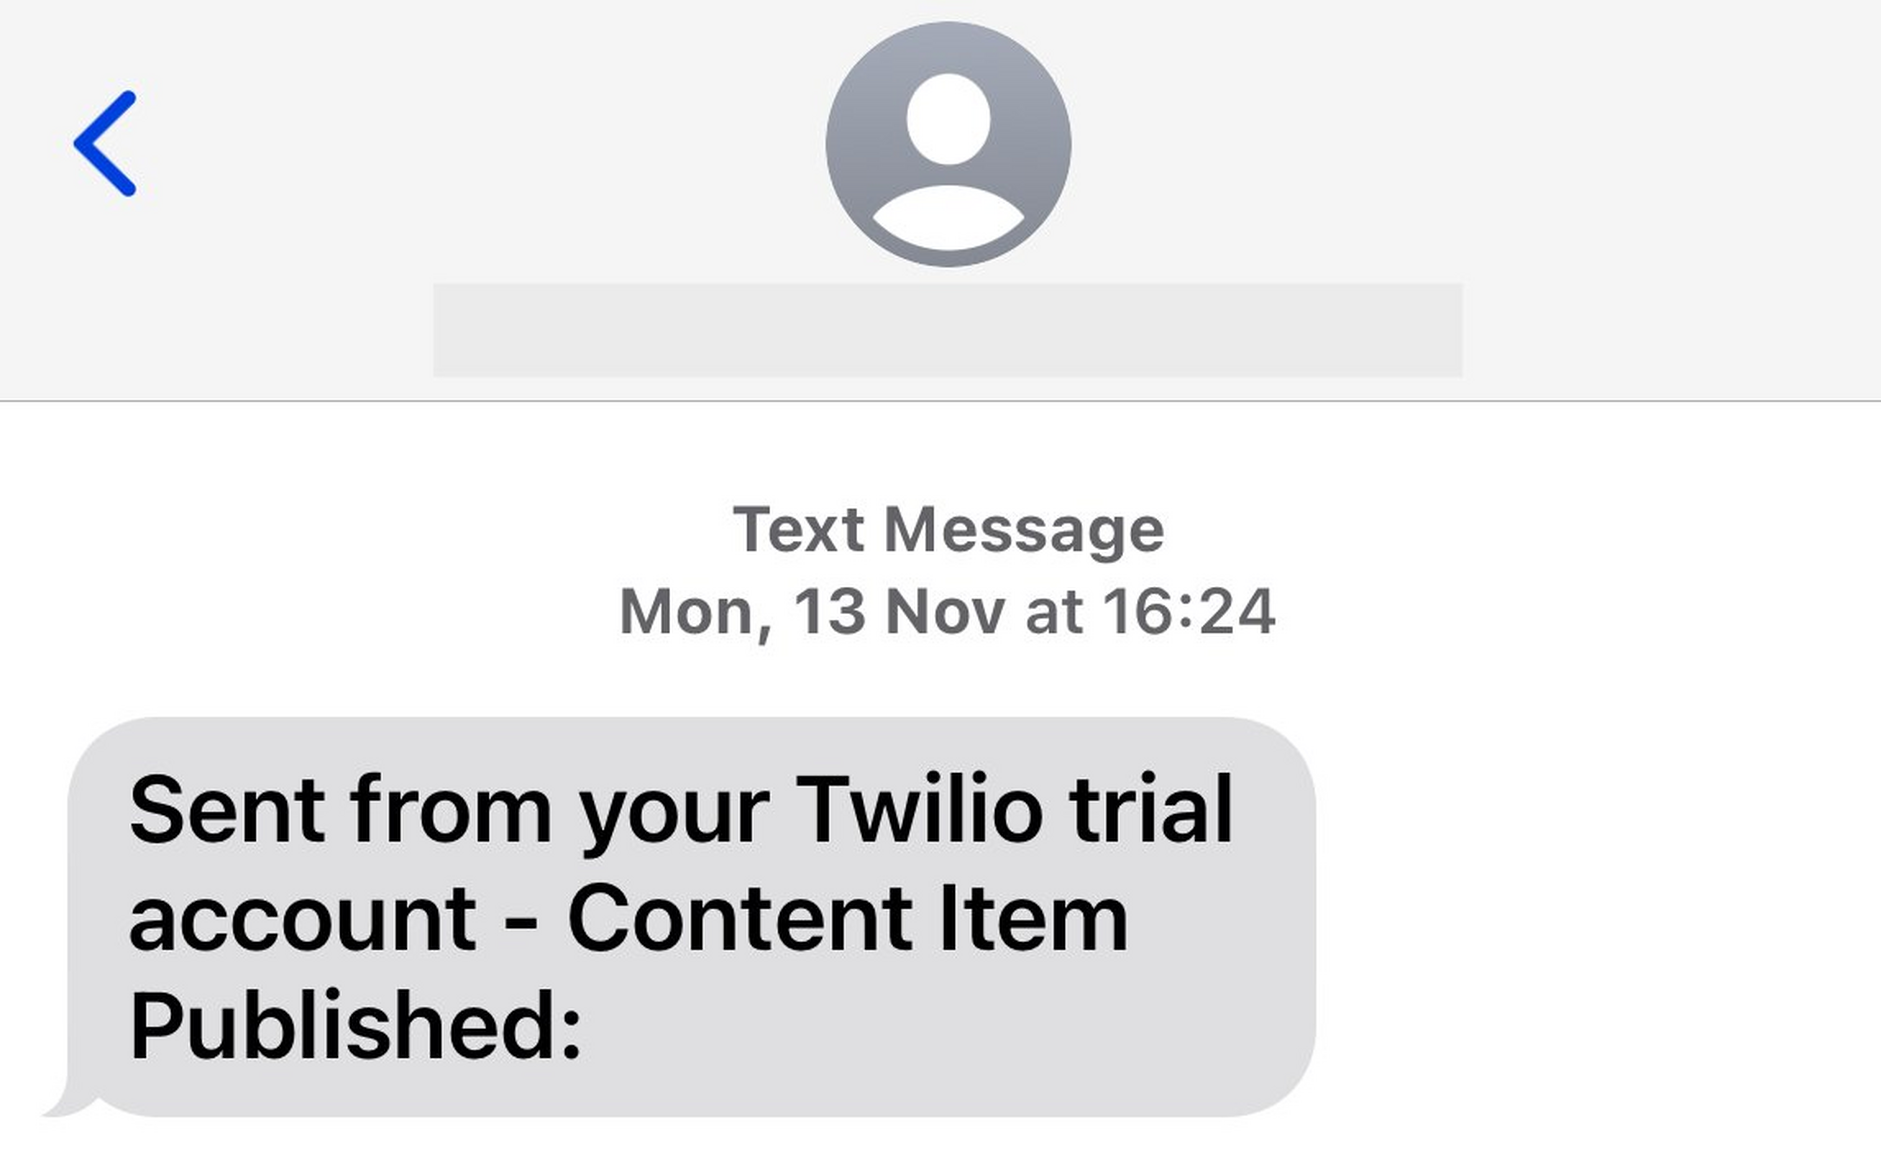
Now that our webhook has been created, we can test it by creating and publishing a new content item in our hub in Dynamic Content. As shown in the screenshot below, as soon as our content is published, we get an SMS message on our phone explaining that a new content item has been published.
Step 5: View the webhook activity logLink copied!
You can use the webhook activity log to verify the status of your webhook. To do this, choose "Webhooks" from the Development menu and double click your Twilio webhook to open it. Click the "Activity log" tab and in the "Recent deliveries" section you should see a new entry showing that the webhook has been successfully triggered.
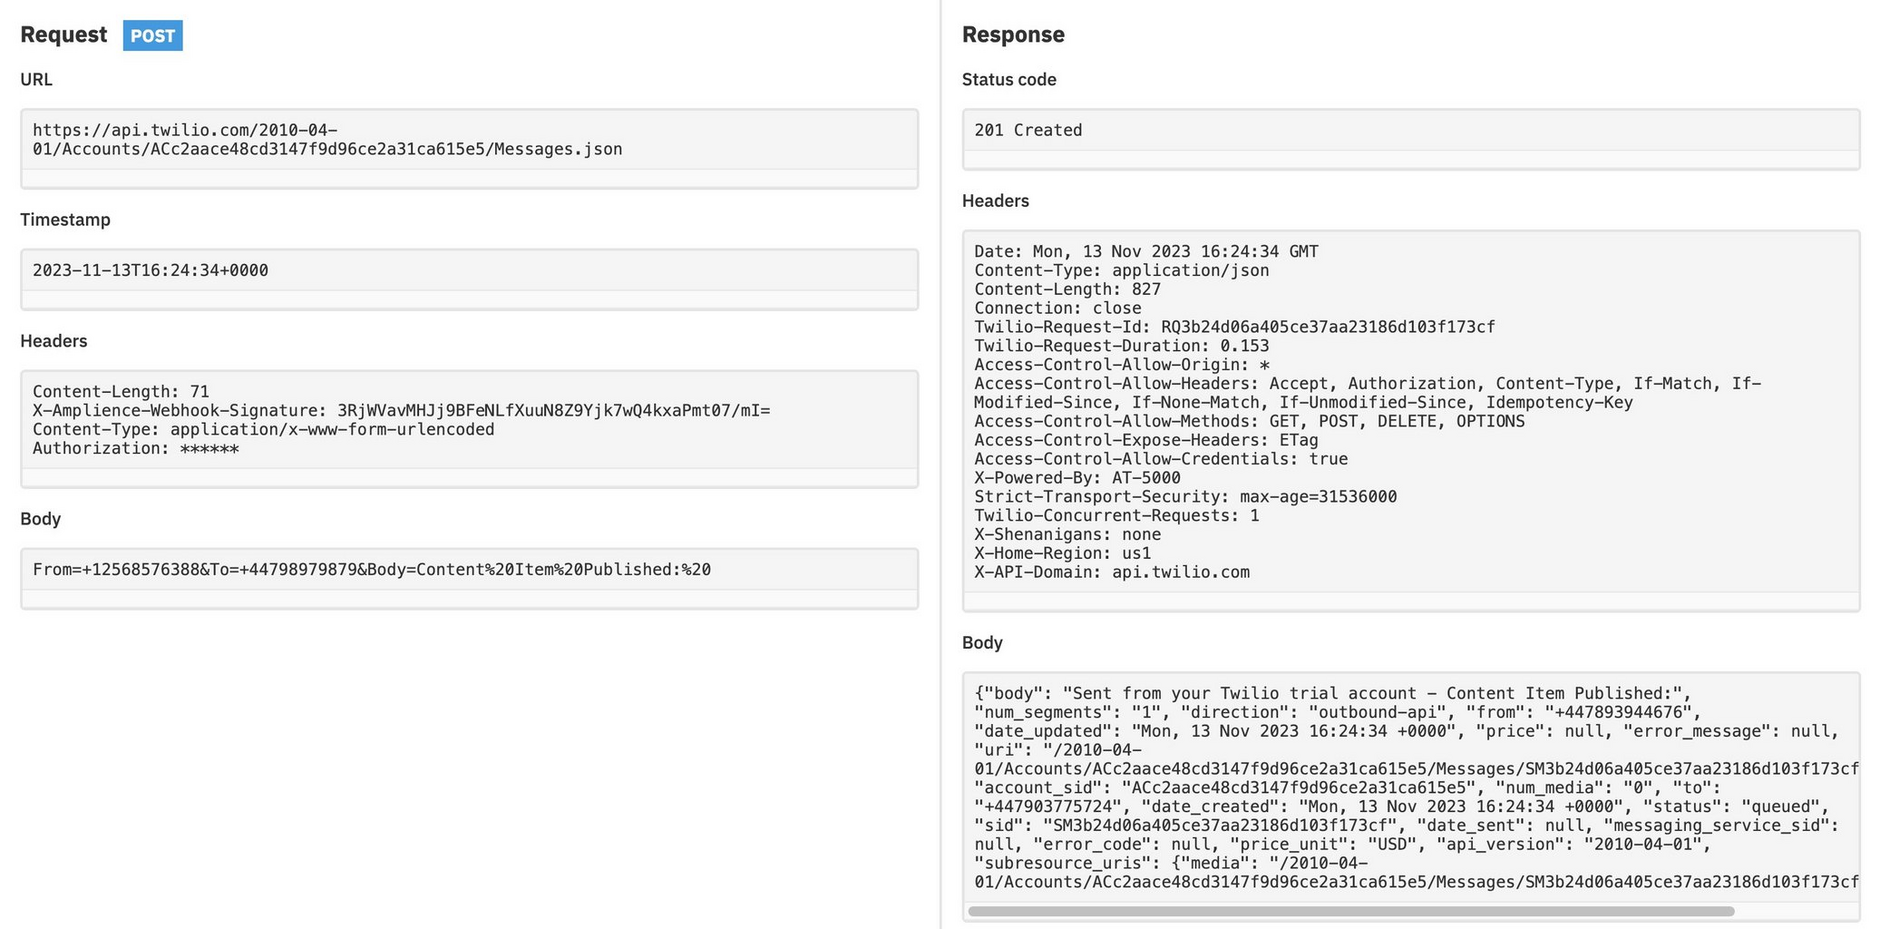
Click "View details" to view the request and response.
In the webhook details, the status is 201 Created, indicating that the webhook was received and processed.


