Zapier integration
Zapier is an easy to use tool for building integrations between apps. An integration between two apps is called a Zap and is made up of a trigger and one or more actions or searches. Whenever the trigger happens in one app, Zapier will automatically perform the actions or searches in another app.
The Amplience CMS Zapier integration is built using webhooks and makes it easy to build apps that are triggered by actions in Amplience CMS.
In this example we'll walk through setting up a simple Zap to connect Amplience CMS to Slack. The example will send a Slack message when a content item is created in Amplience CMS.
Before you beginLink copied!
In order to create integrations between Amplience CMS and Zapier, you will need the following:
- A ClientID and Secret. You can request these from your Customer Success Manager. These credentials are required in order to allow Zapier access to the Amplience CMS APIs.
- When you request your credentials you should ensure that you are allocated the permissions that your Zapier integration requires. This includes webhook permissions and access to the Amplience CMS hubs that you want to use.
- Your credentials should also give you permission to perform the actions that will fire the webhooks used in the triggers. The currently supported triggers are: content item created, content item updated, edition created, edition scheduled, edition unscheduled and edition published.
- An account on the Zapier website.
- You should also invite yourself to the Amplience Zapier beta program.
Creating a ZapLink copied!
To connect Amplience CMS with Zapier you create one or more Zaps. Zaps are used to connect apps together by specifying triggers, events that result in particular actions such as sending an email, or posting a message in Slack or any of the other actions included in the apps that Zapier supports.
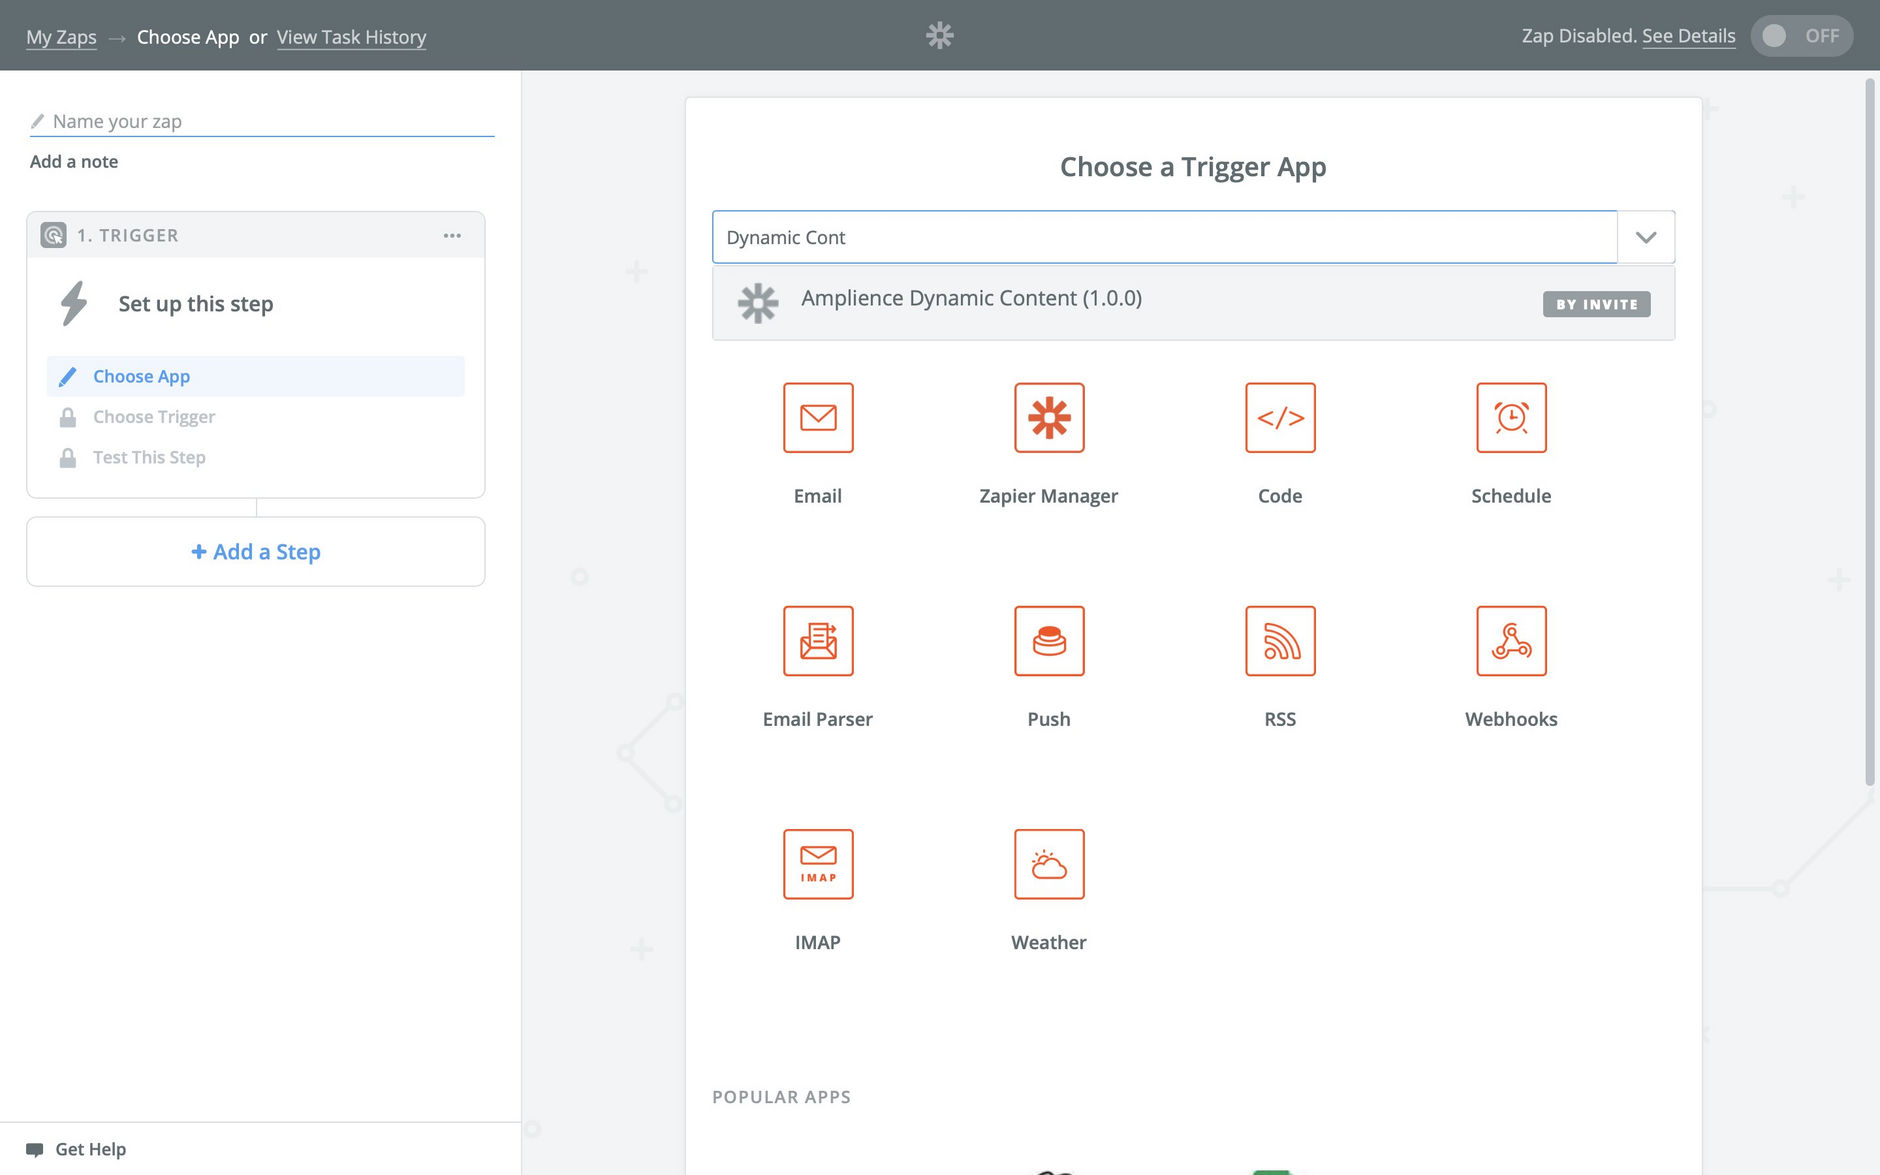
To create a Zap to use Amplience CMS, log in to Zapier and click the "Make a Zap" button. You will be prompted to choose a "trigger app" and in this case choose Amplience CMS.
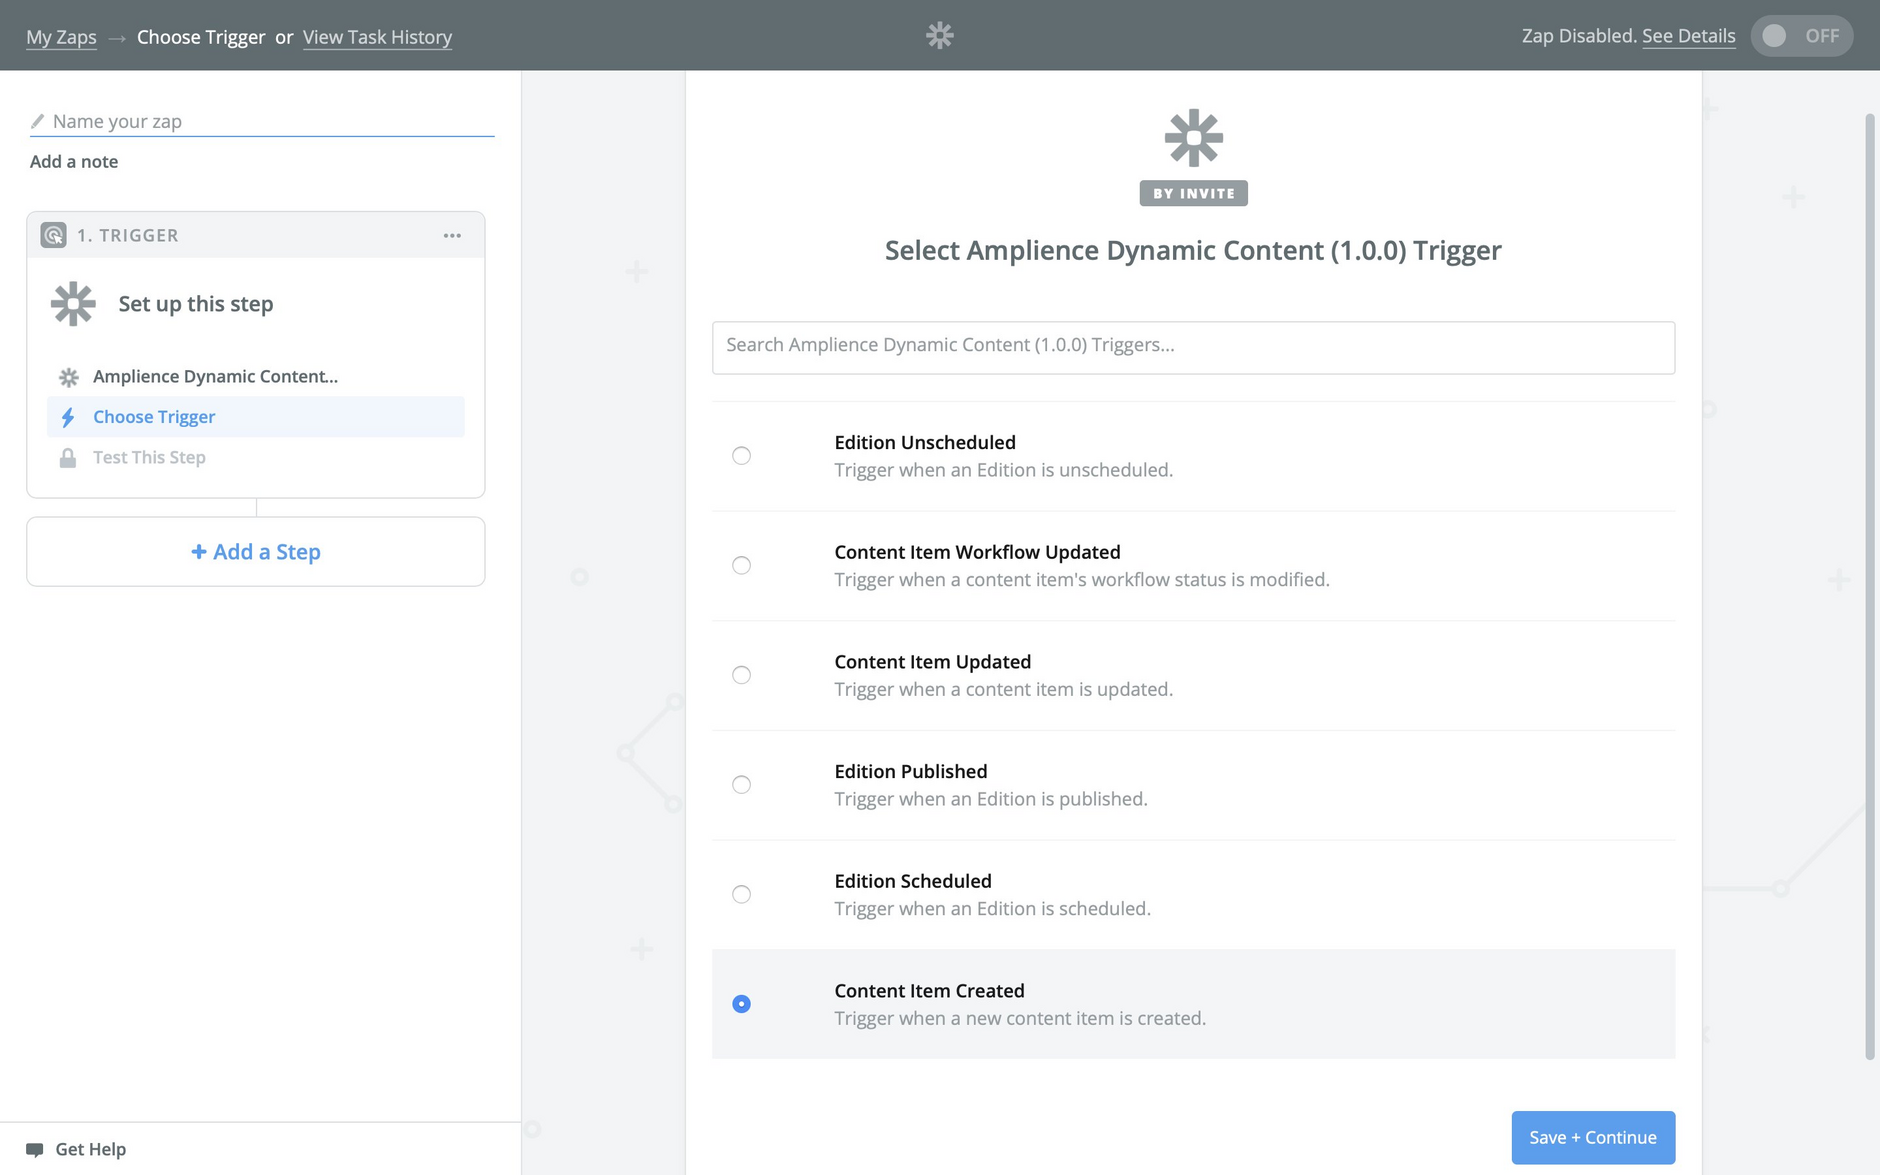
When Amplience CMS is chosen, you will then be asked to choose a trigger. A list of the available webhook events will be displayed. These correspond to particular actions such as creating a content item, scheduling an edition and updating a content item. Choose the event that you want to use as the trigger for your Zap. In this example we want an action to occur when a new content item is created.
Connecting to Amplience CMSLink copied!
Once you've chosen the triggers, the next step is to connect your Zap to Amplience CMS.
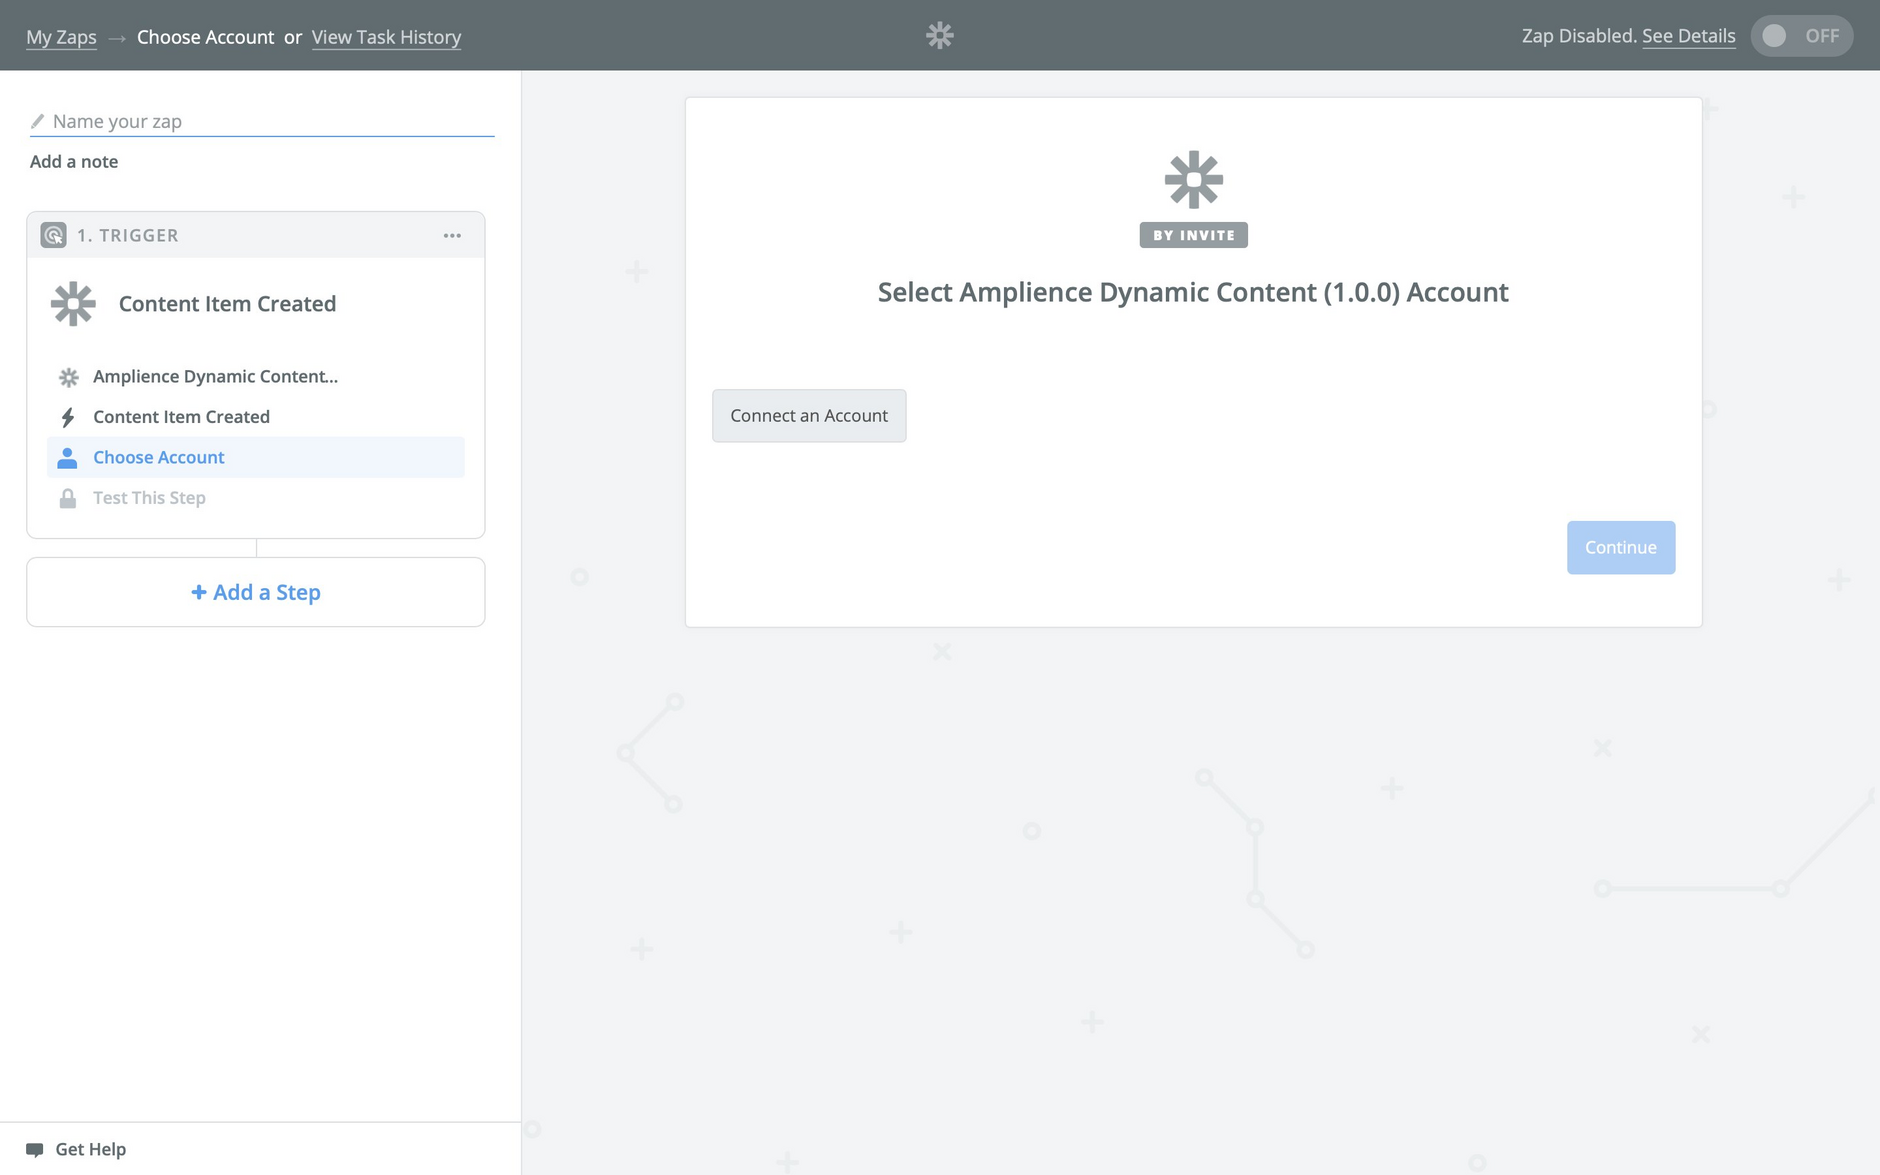
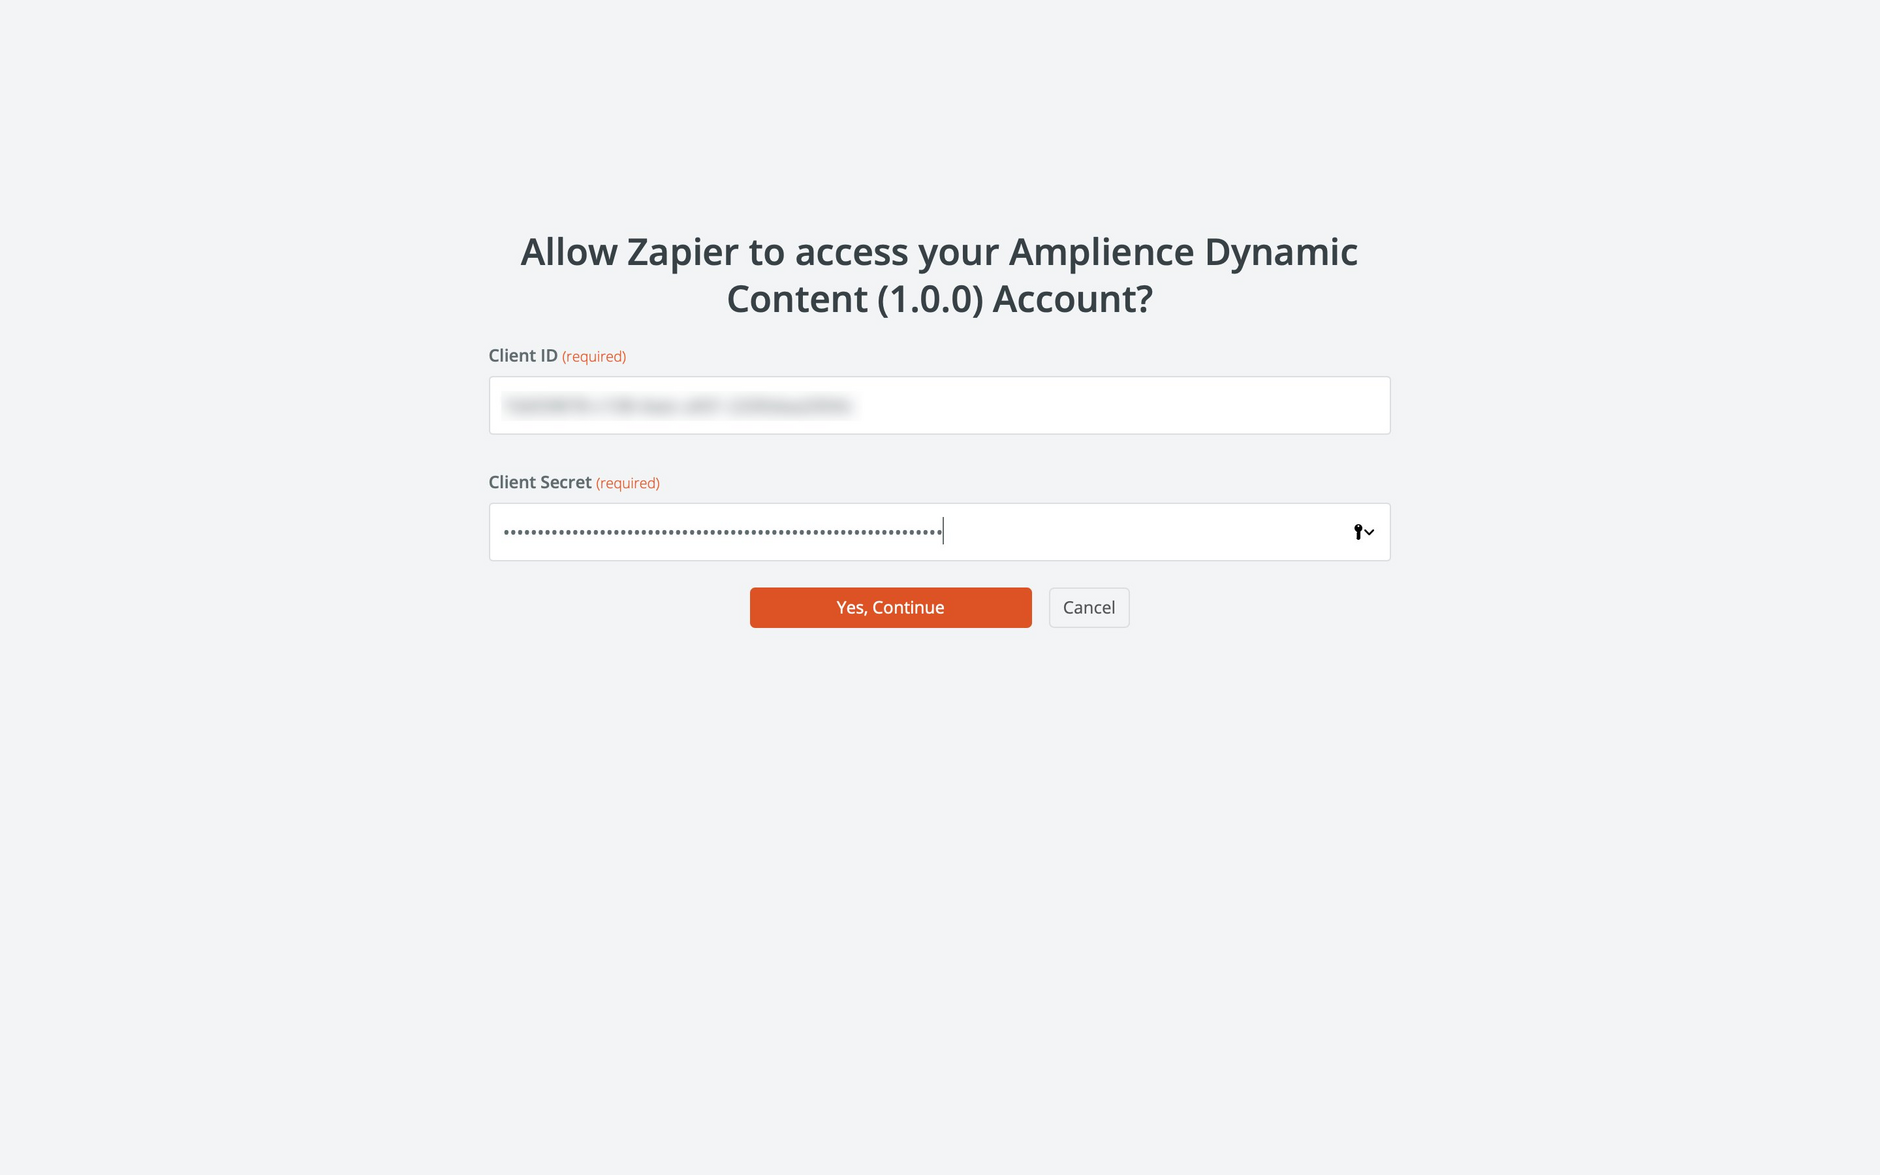
Click the "Connect an Account" button and enter your Amplience CMS clientID and secret.
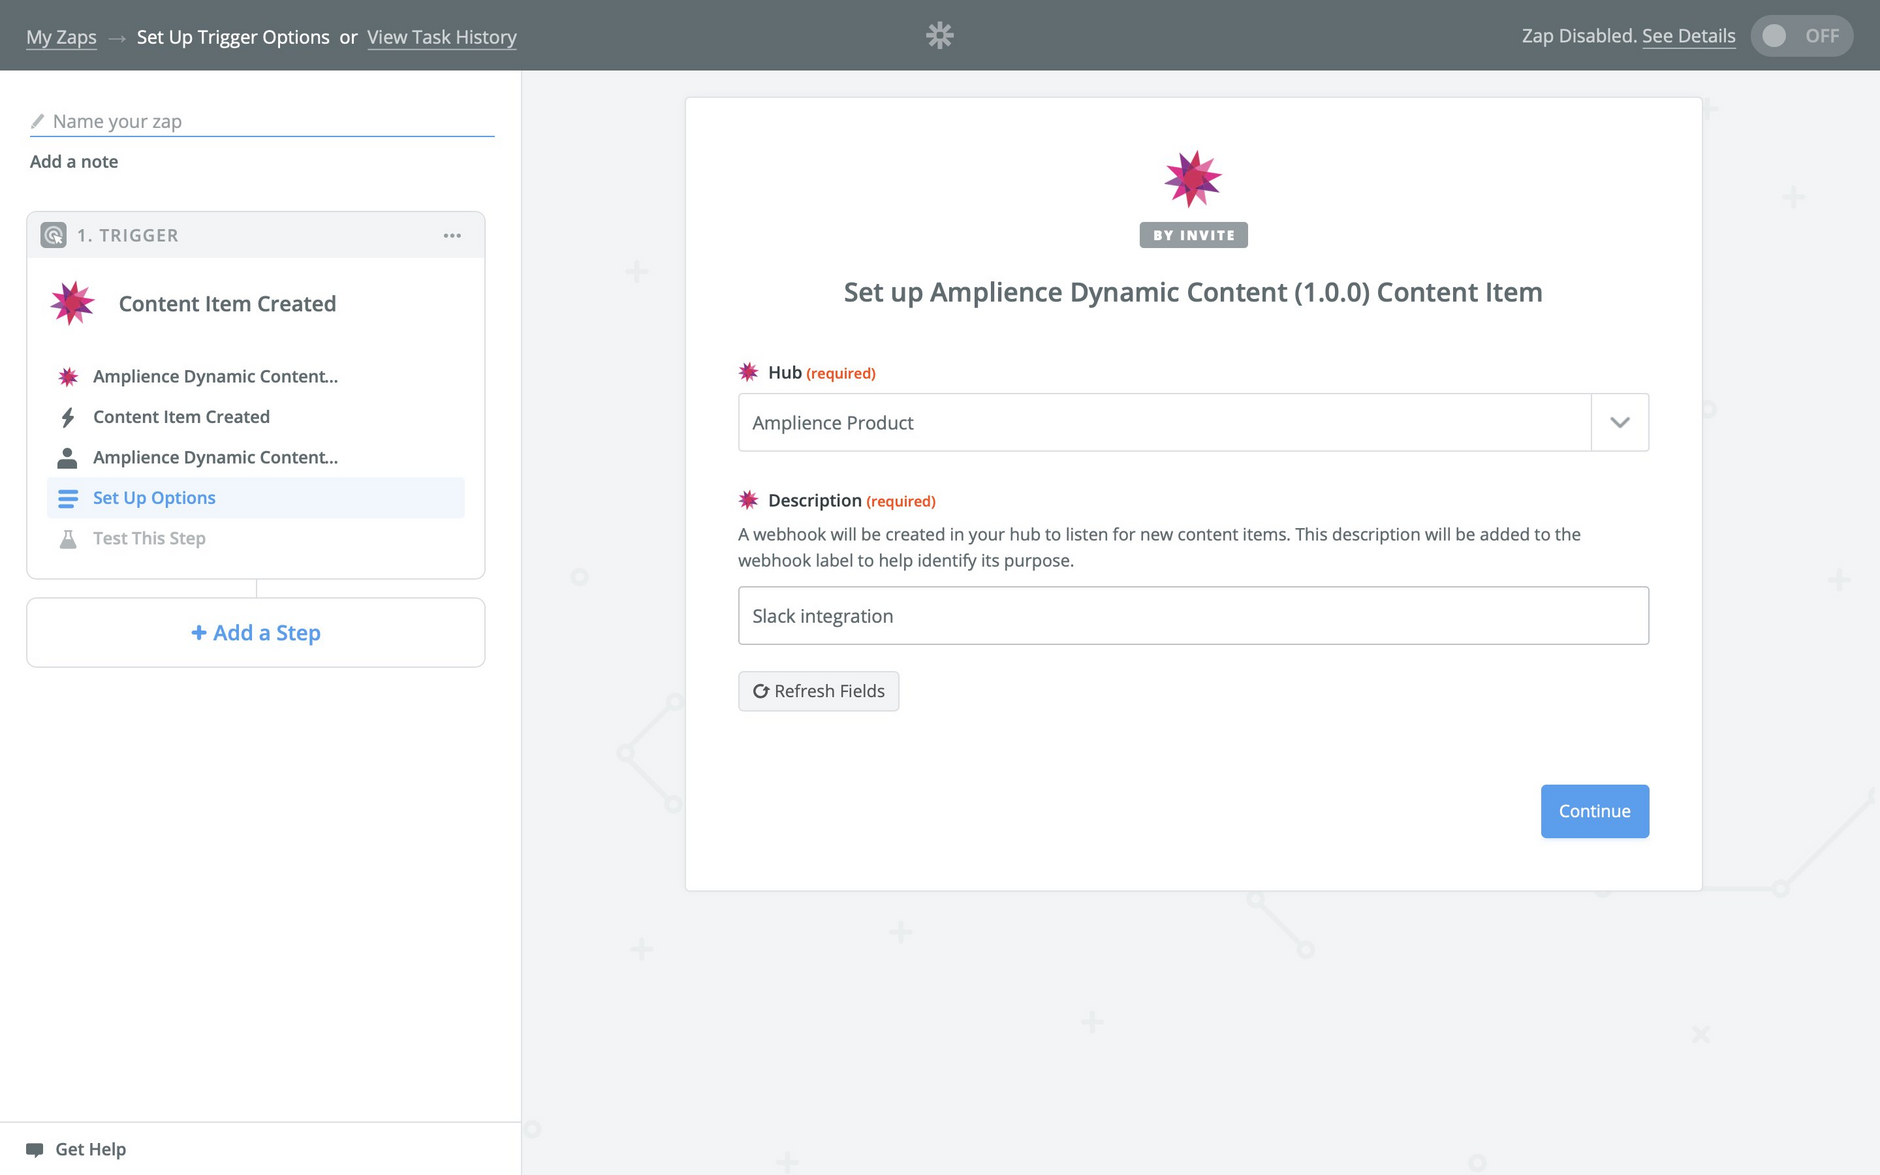
Each Zap is linked to a particular Amplience CMS hub. Choose the hub that you want to use and give the Zap a name. This name will be used as the label for the Amplience CMS webhook that supports this Zap.
On the next screen you'll be asked to create a content item in Amplience CMS to be used as a sample to set up this Zap. You can choose the "skip this step" button.
Choosing an action appLink copied!
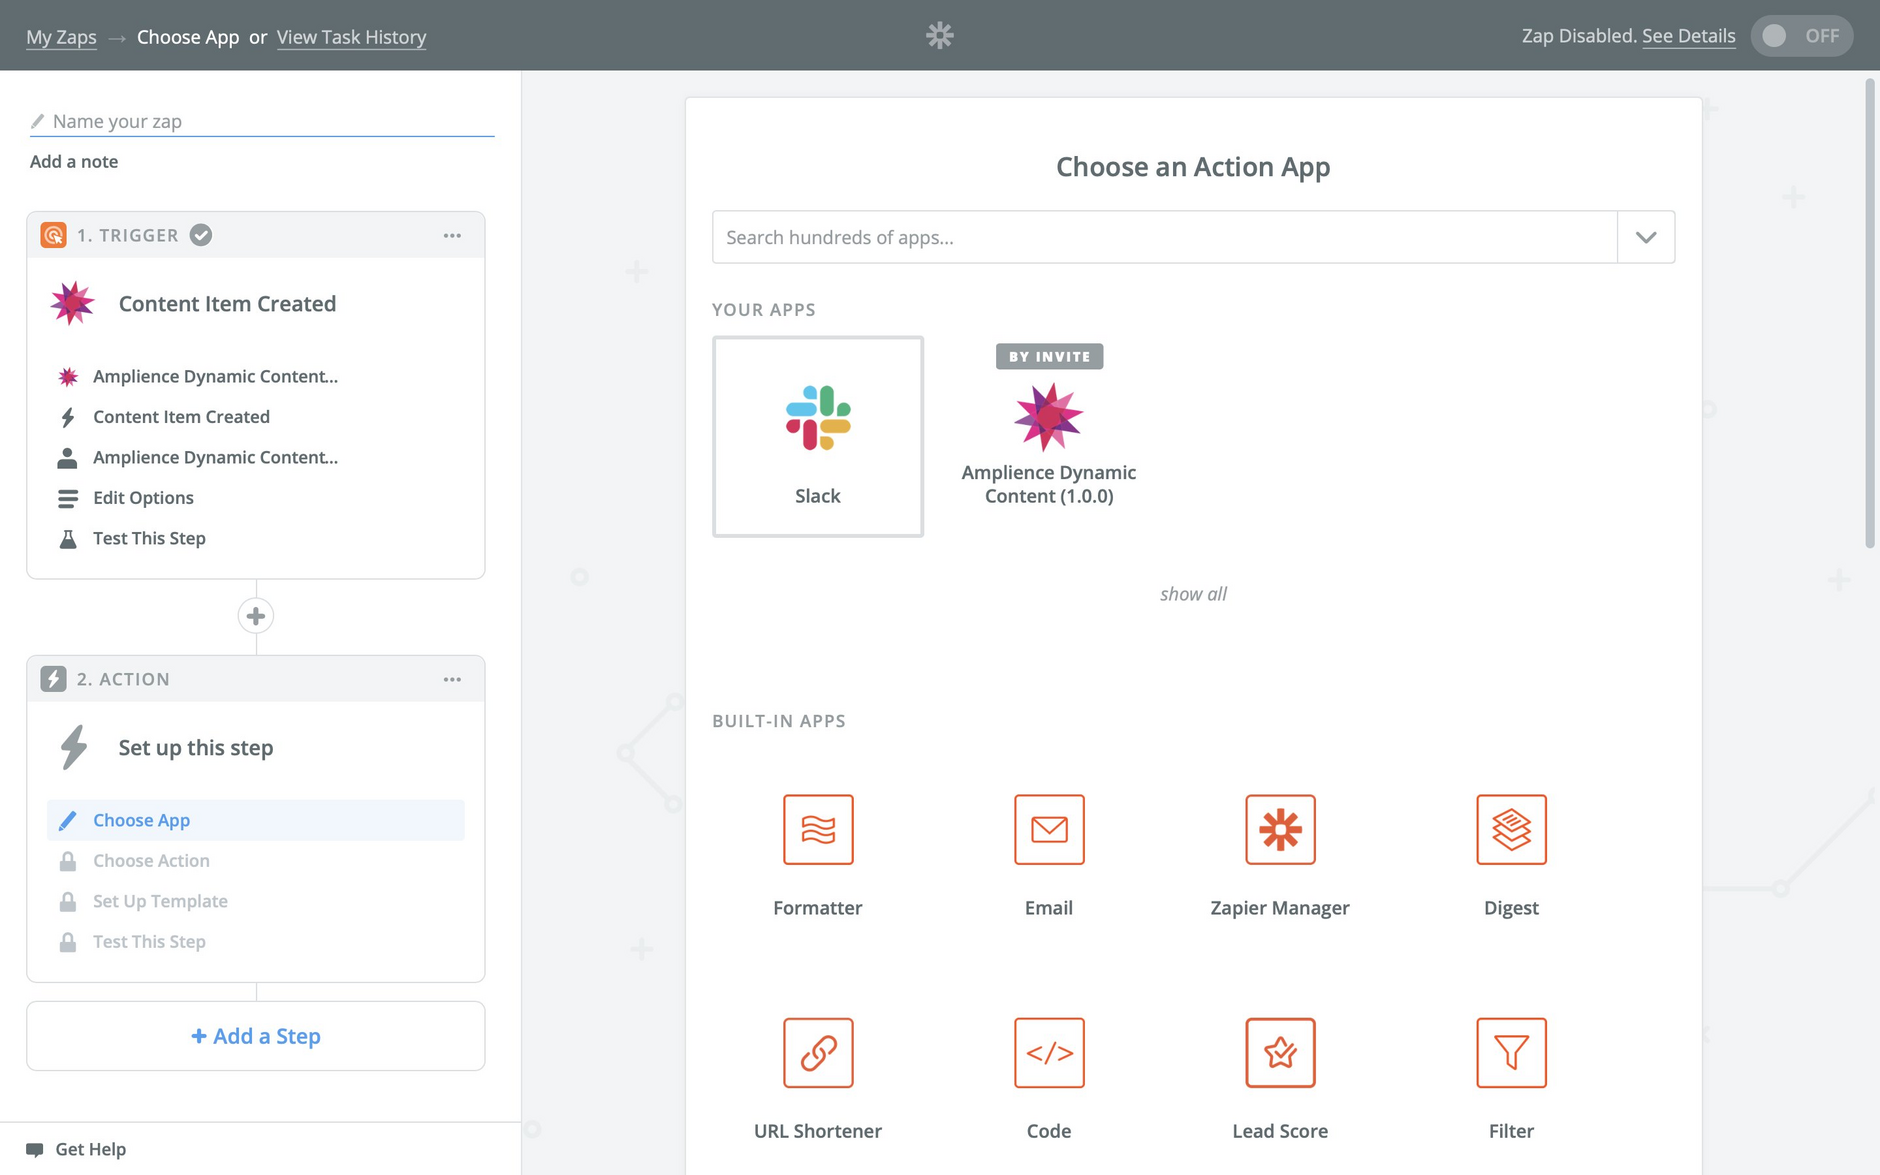
The next step is to choose the action that will be performed when the chosen event is triggered. In this example we'll choose Slack as the action app.
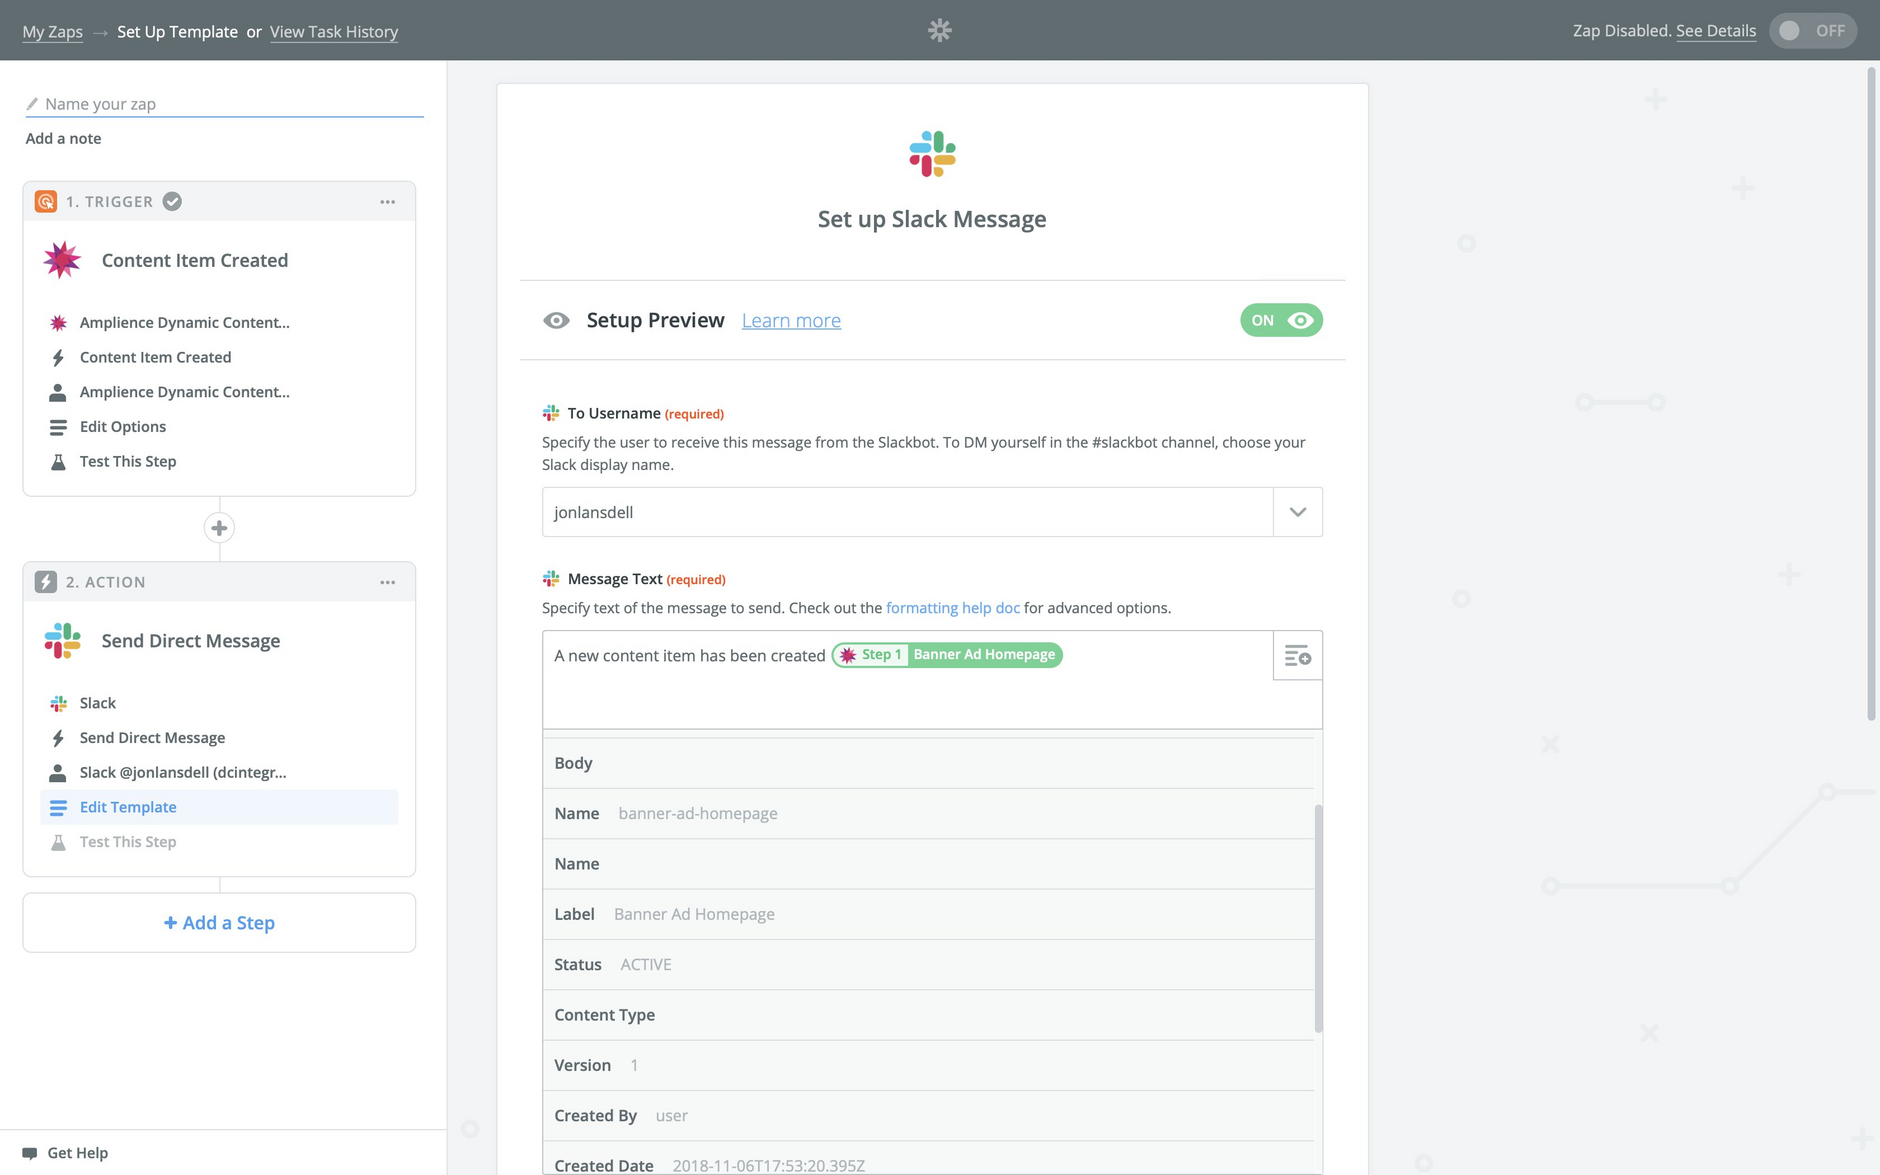
In the Slack setup we can enter the details of the message that will be sent when our chosen action is triggered. In an earlier step we set up the Zap action to be triggered when a content item is created. In Amplience CMS creating a content item will cause a content item created webhook event to be triggered. This webhook event will include a payload, including information such as the item name and modification date.
When setting up the Slack message details, we can include fields from the payload as part of the message text. In this case we'll just include the item's label. Of course for different triggers and actions you can choose other fields.
Make sure your Zap is enabled and you're ready to test your Zap with Amplience CMS.
Testing the Zap with Amplience CMSLink copied!
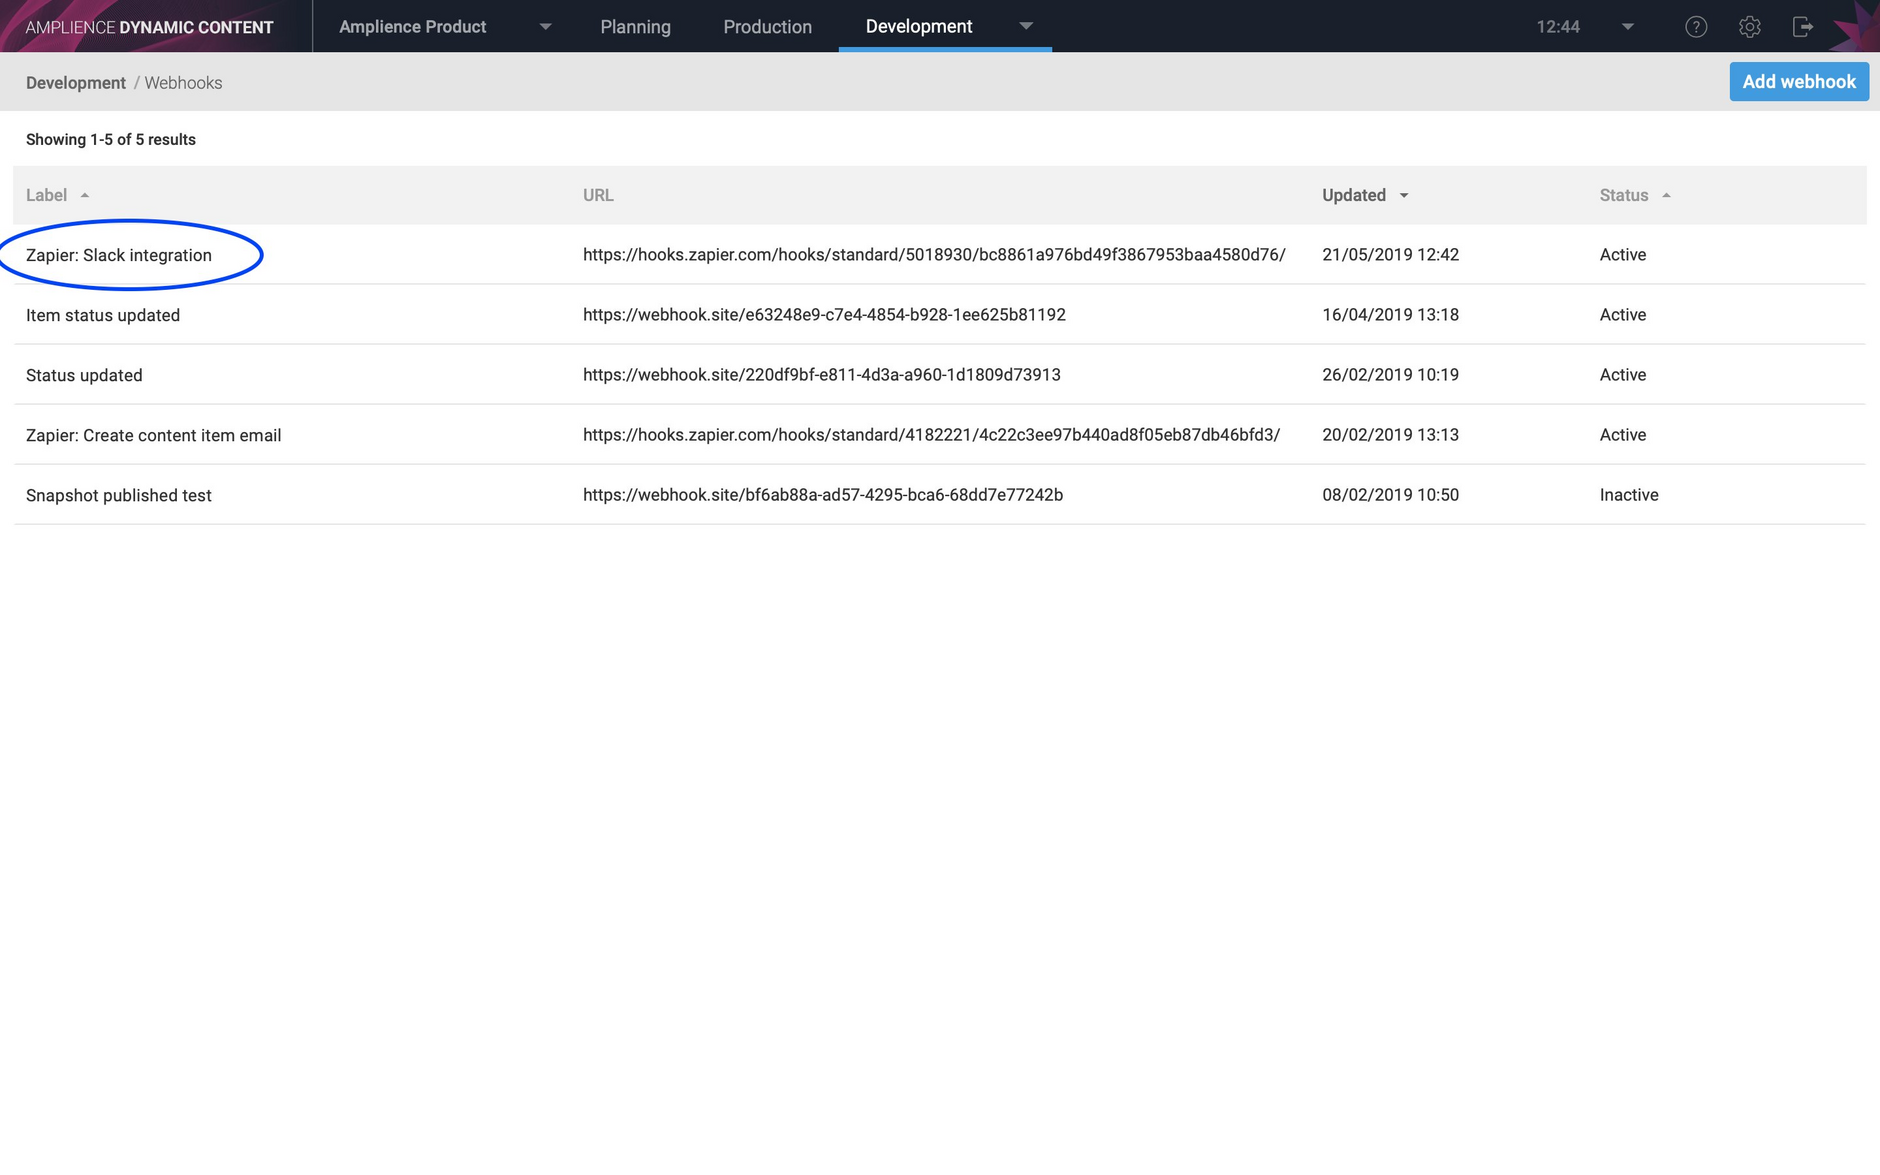
Once the Zap is enabled, a webhook will be set up in Amplience CMS with the label "Zapier:" followed by the name you chose. In this example the webhook will be triggered when a content item is created. You can view the payload in the webhook request. See the Webhooks page for more details about viewing requests and responses.
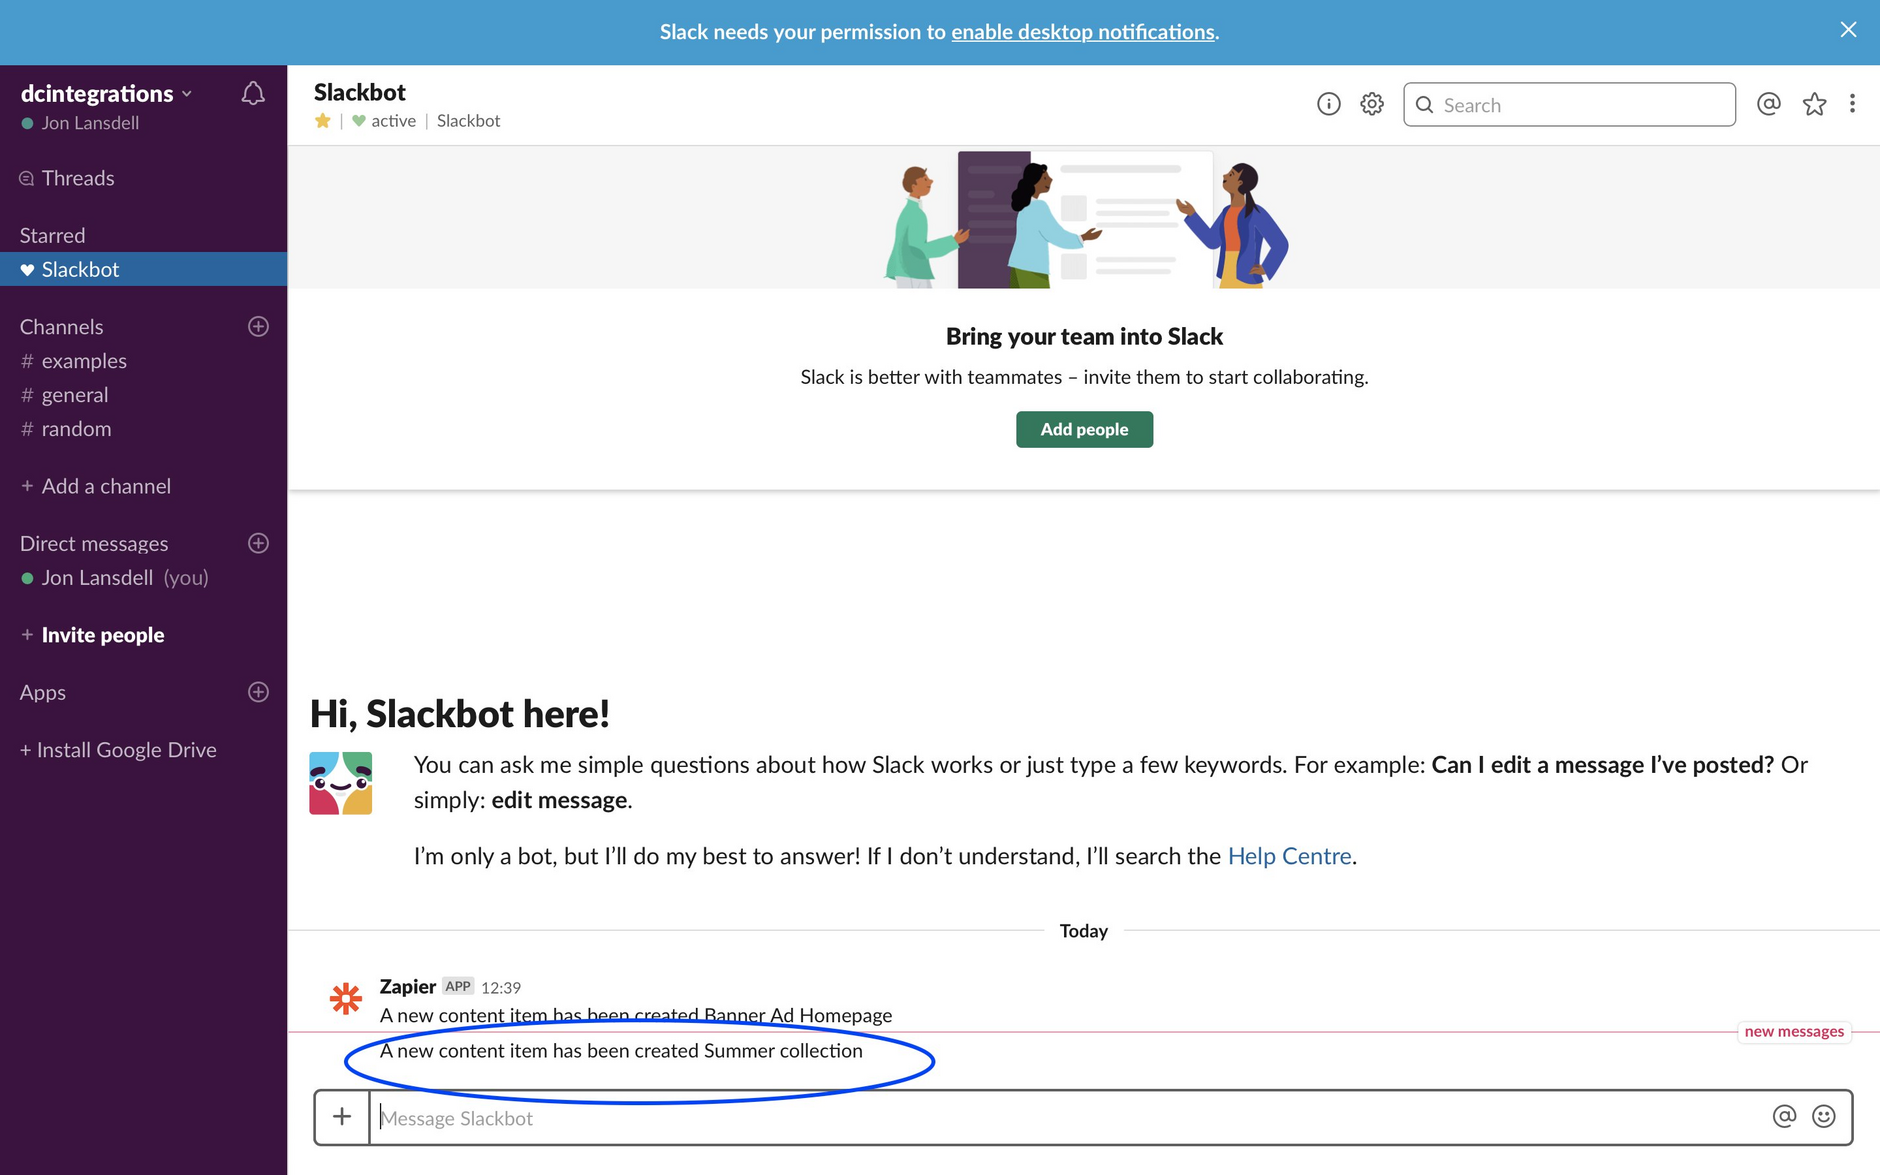
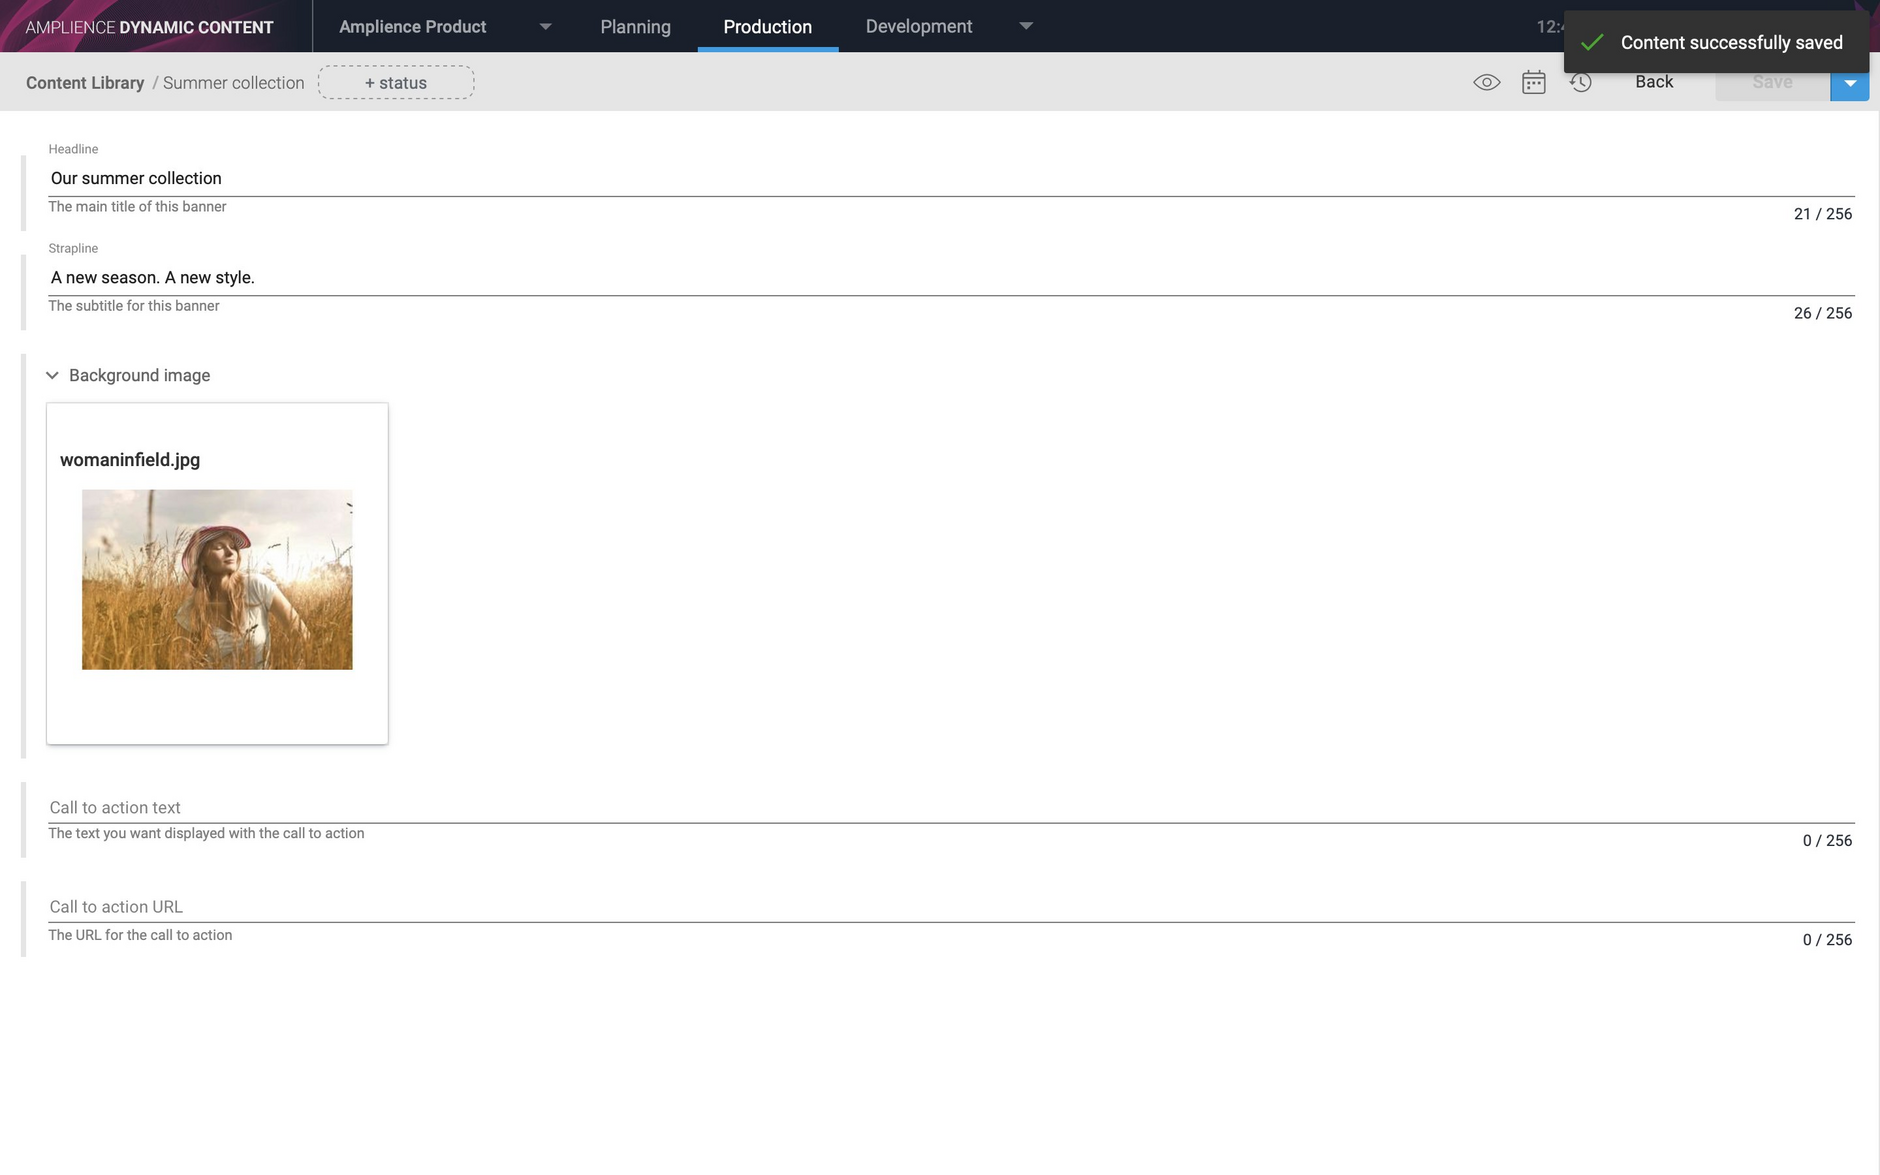
To test out the Zap we'll create a new content item called "Summer collection". When the new item is saved the Zap will be triggered.
A message, including the name of the content item that we just created, is sent to the account we configured on Slack.